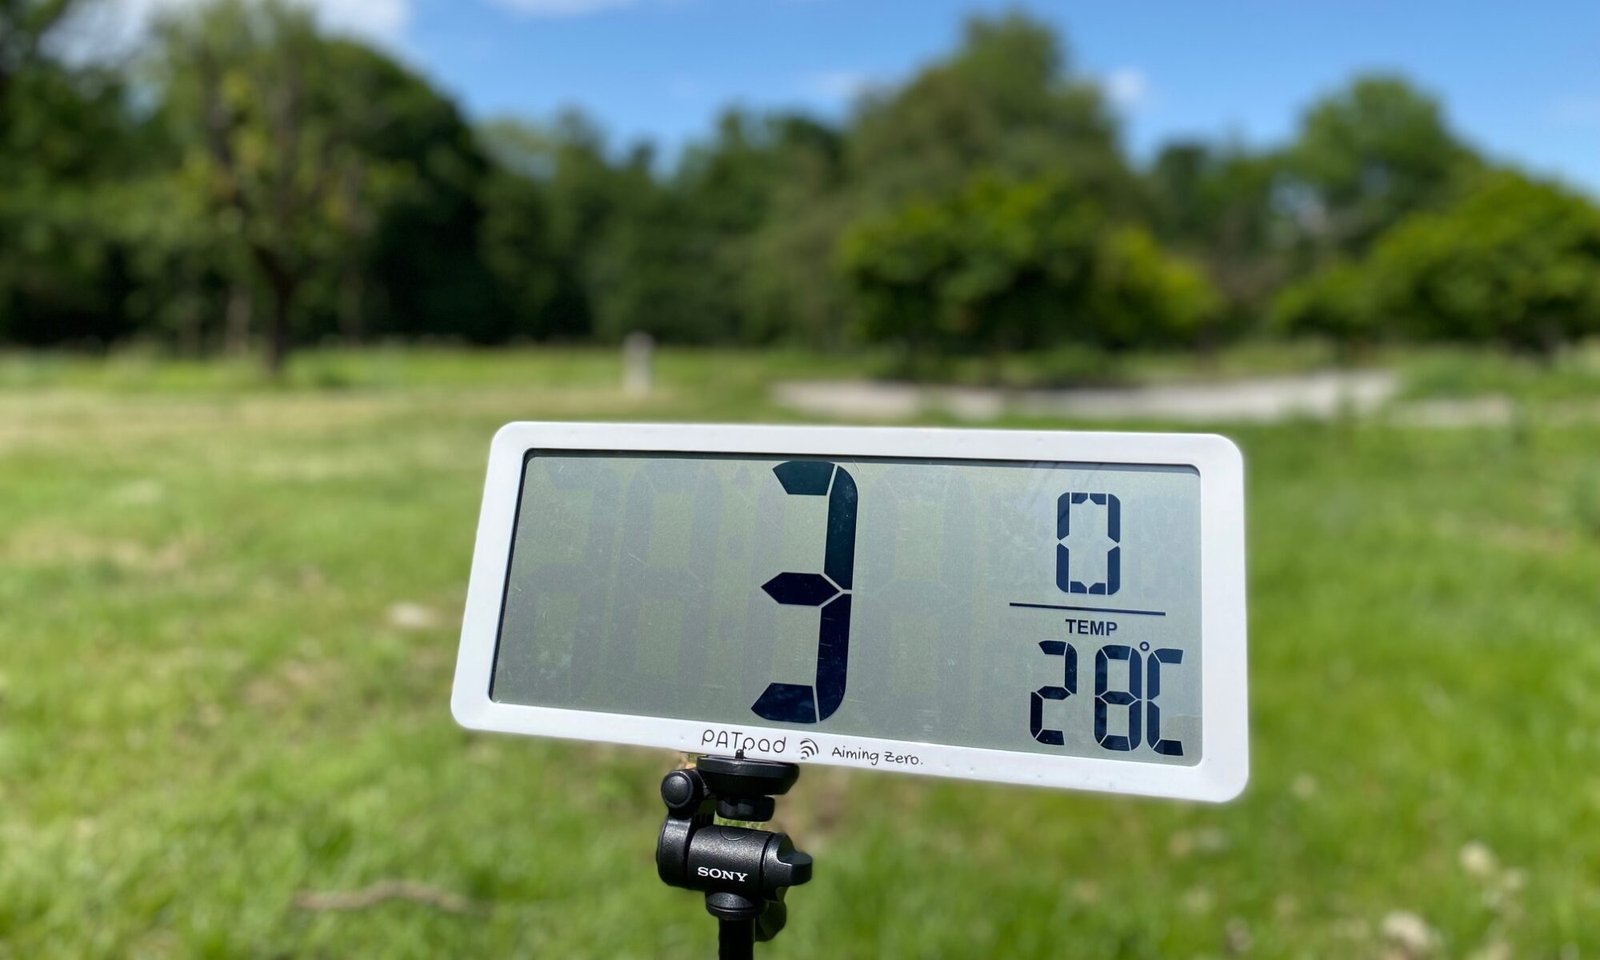
Firmware Upgrade for PATpad 2
General Description
This tutorial will guide you through the process of upgrading the firmware of your PATpad using the nRF Connect application on your Android device. You can follow the steps below, and for a detailed visual walkthrough of the upgrade process, you can watch the video, where the upgrade process is demonstrated using the nRF Connect app.
Step 1: Download and Install the Required Files
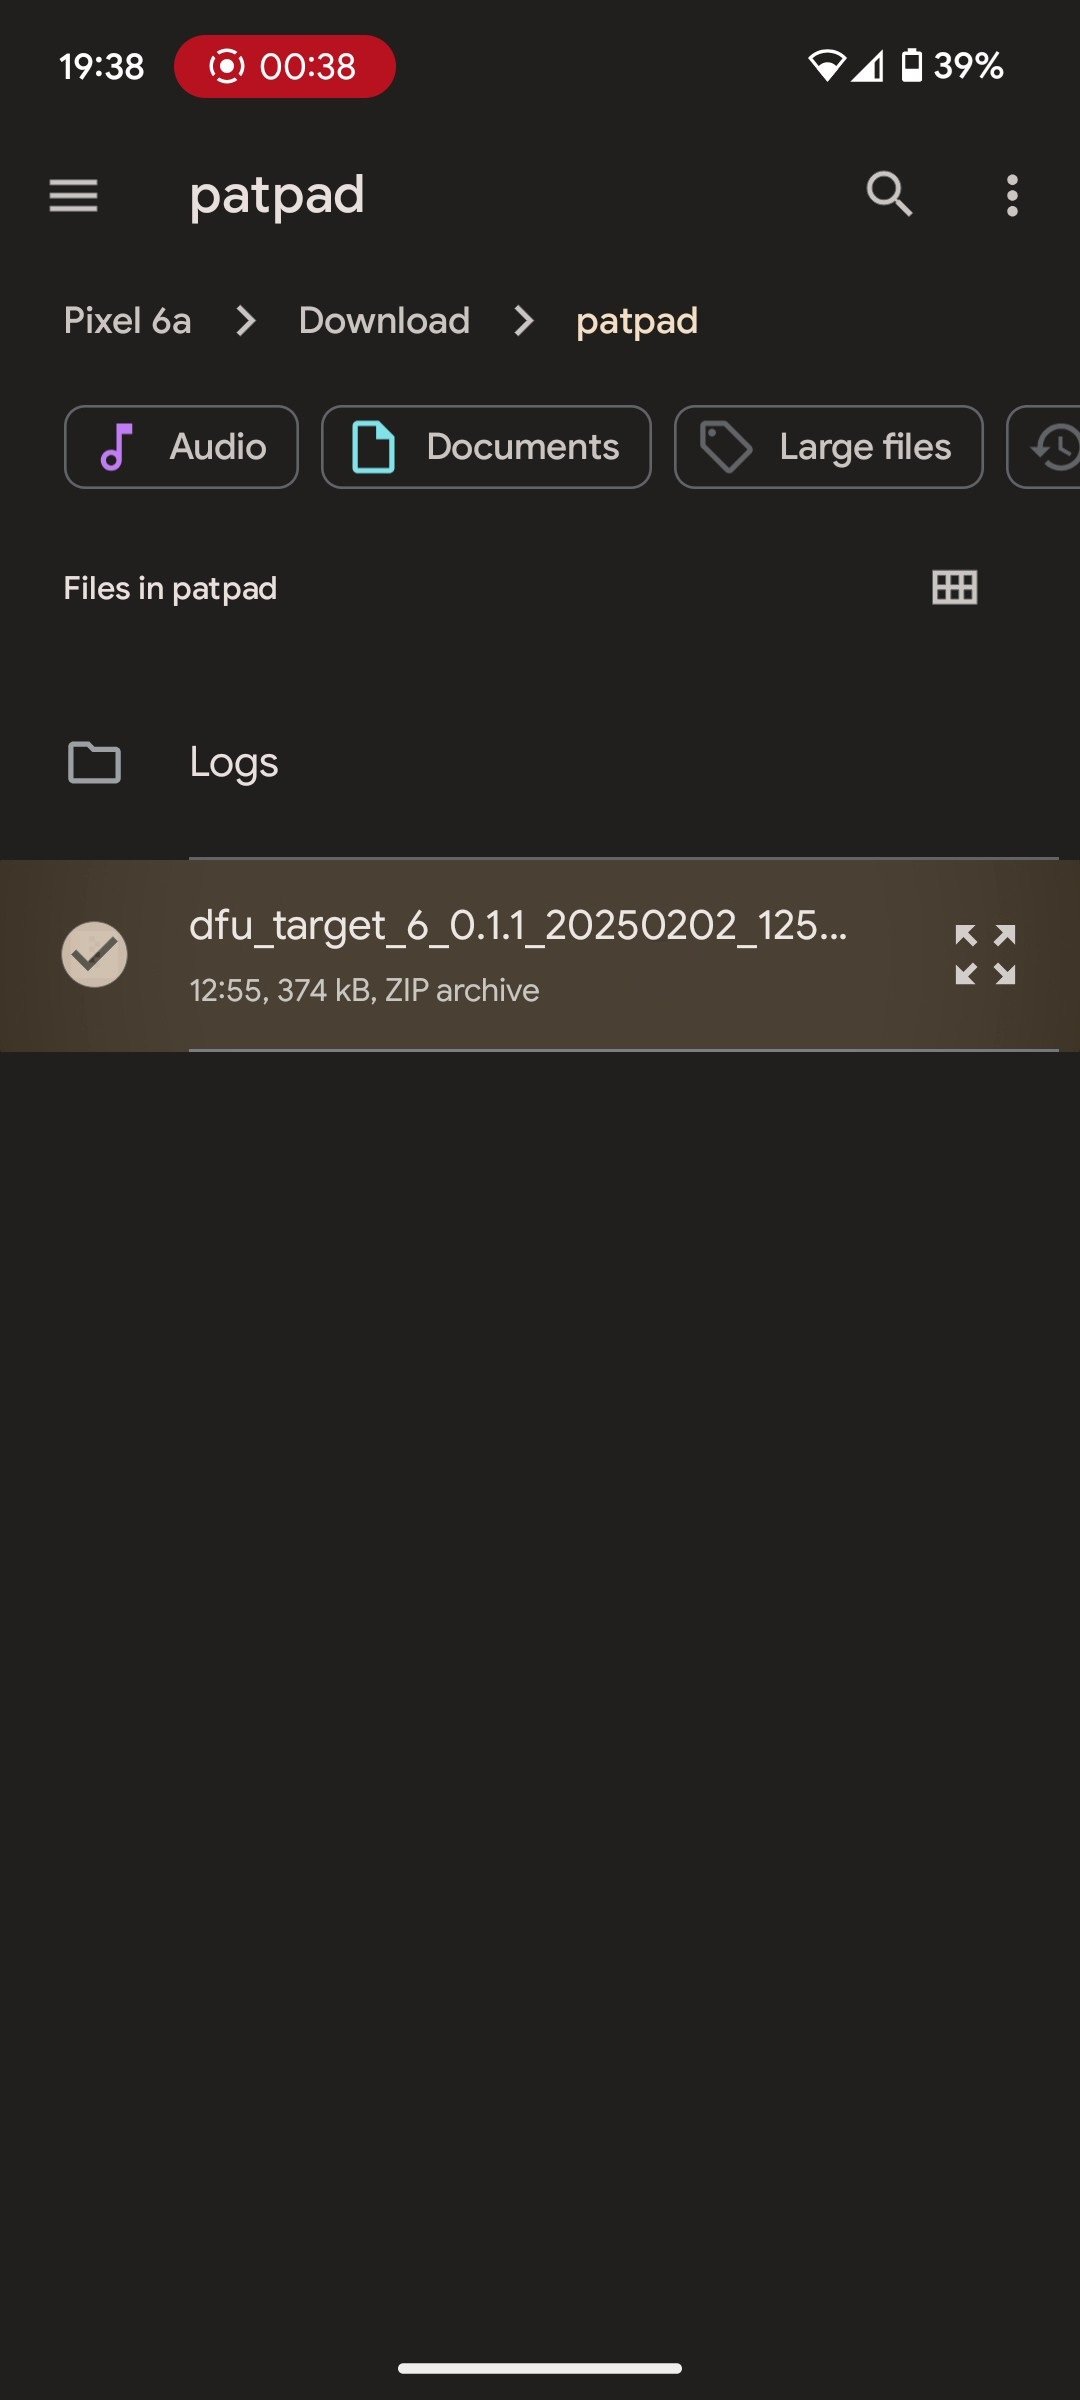
1. Download the PATpad firmware upgrade package from the following link: DFU Target.
2. Save the file to a common location on your phone—in most cases, this will be the “Downloads” folder.
3. Open the Google Play Store on your Android phone.
4. Download the application from the following link: nRF Connect App.
5. Install the application on your device.
Step 2: Configure Application Settings
If you don’t have Physical Layer (PHY) and Compatibility mode settings available, you can skip this step and continue with Step 3: Prepare the PATpad Device.
6. Open the nRF Connect application.

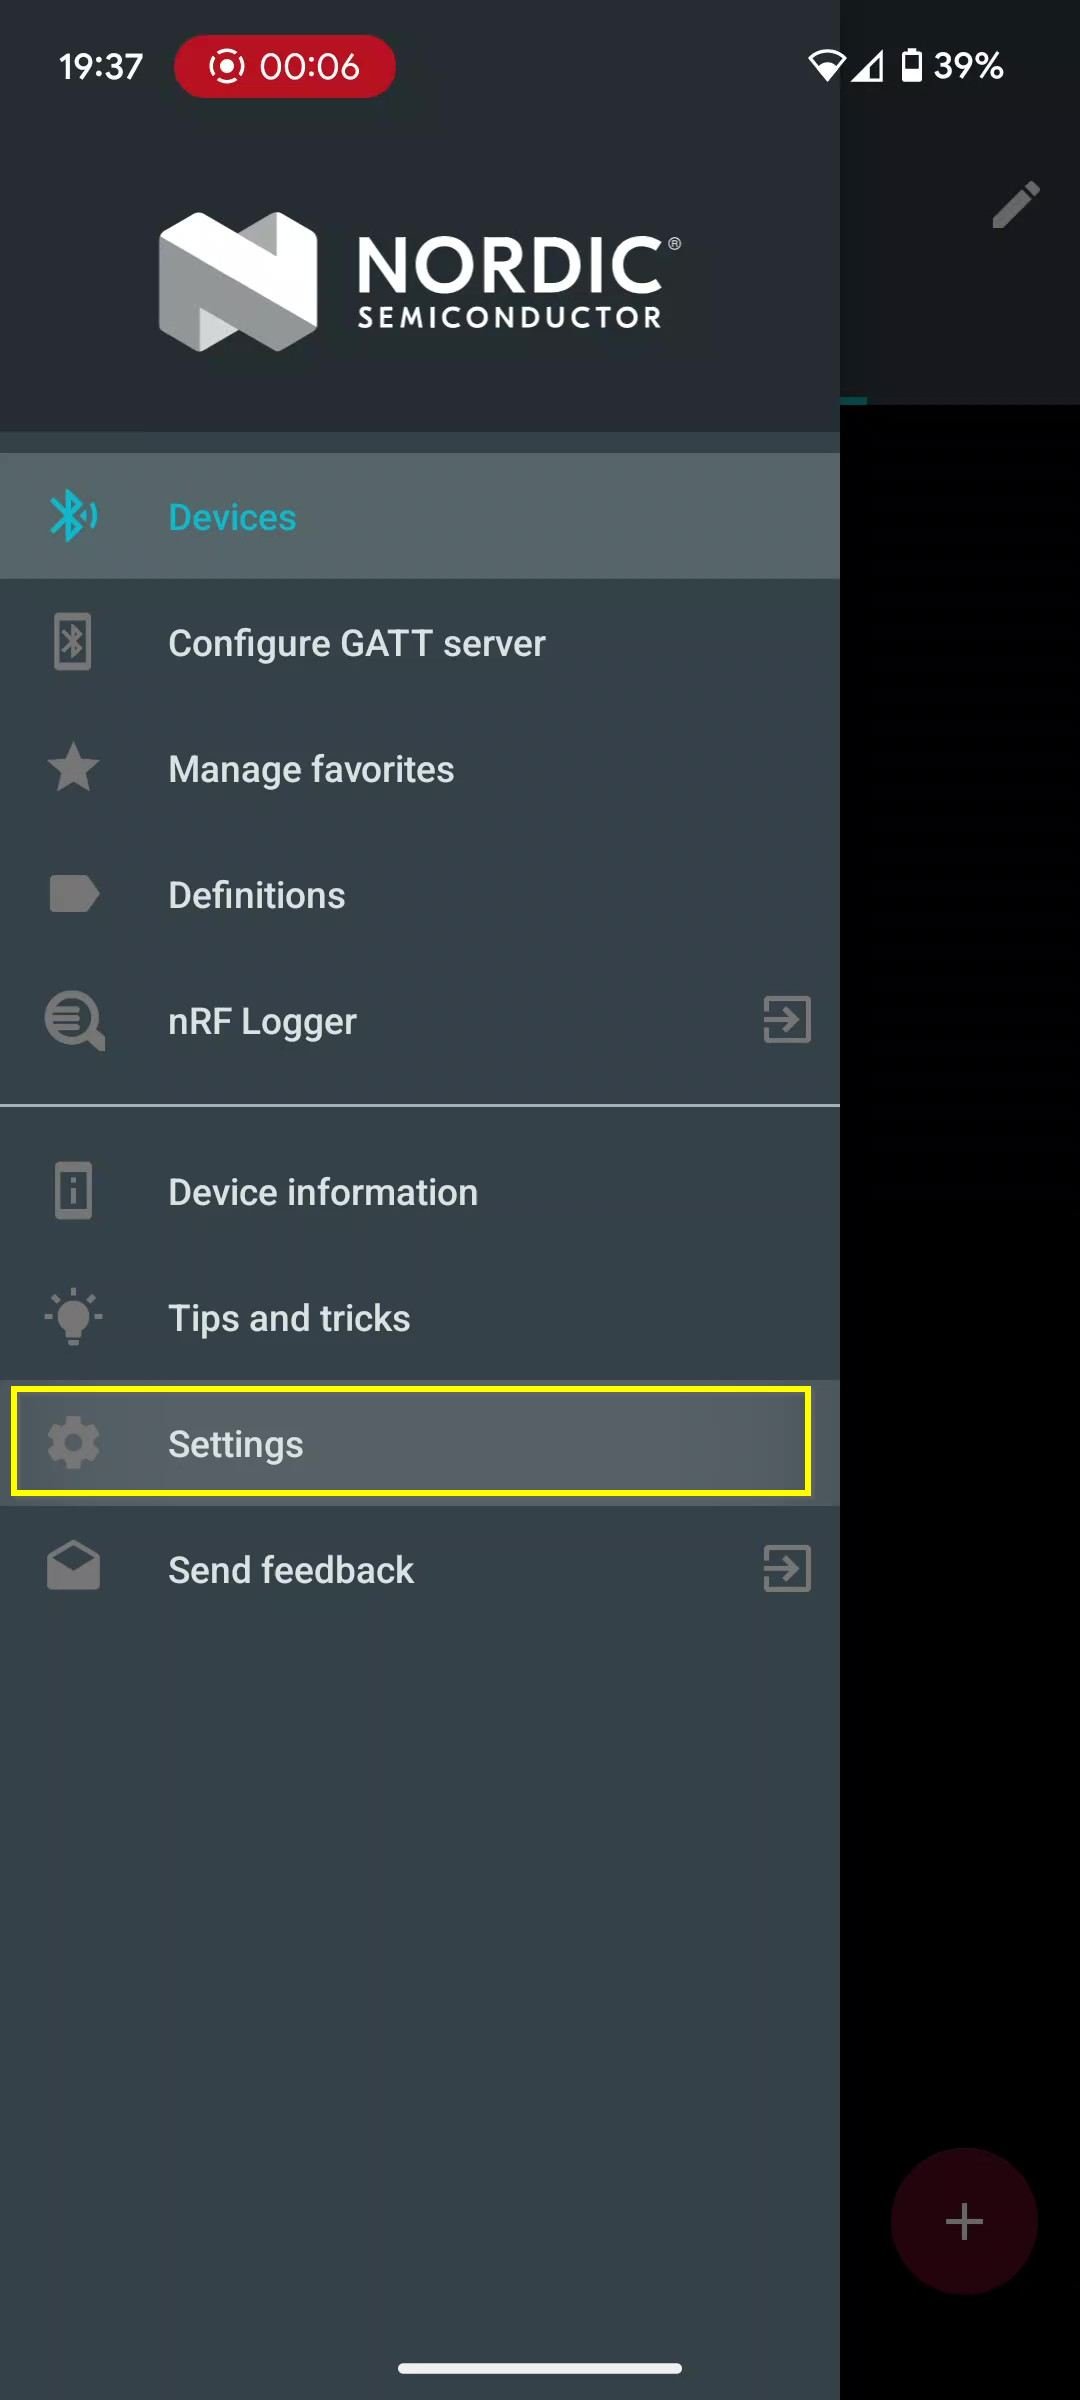
7. Tap the menu icon in the top-left corner.
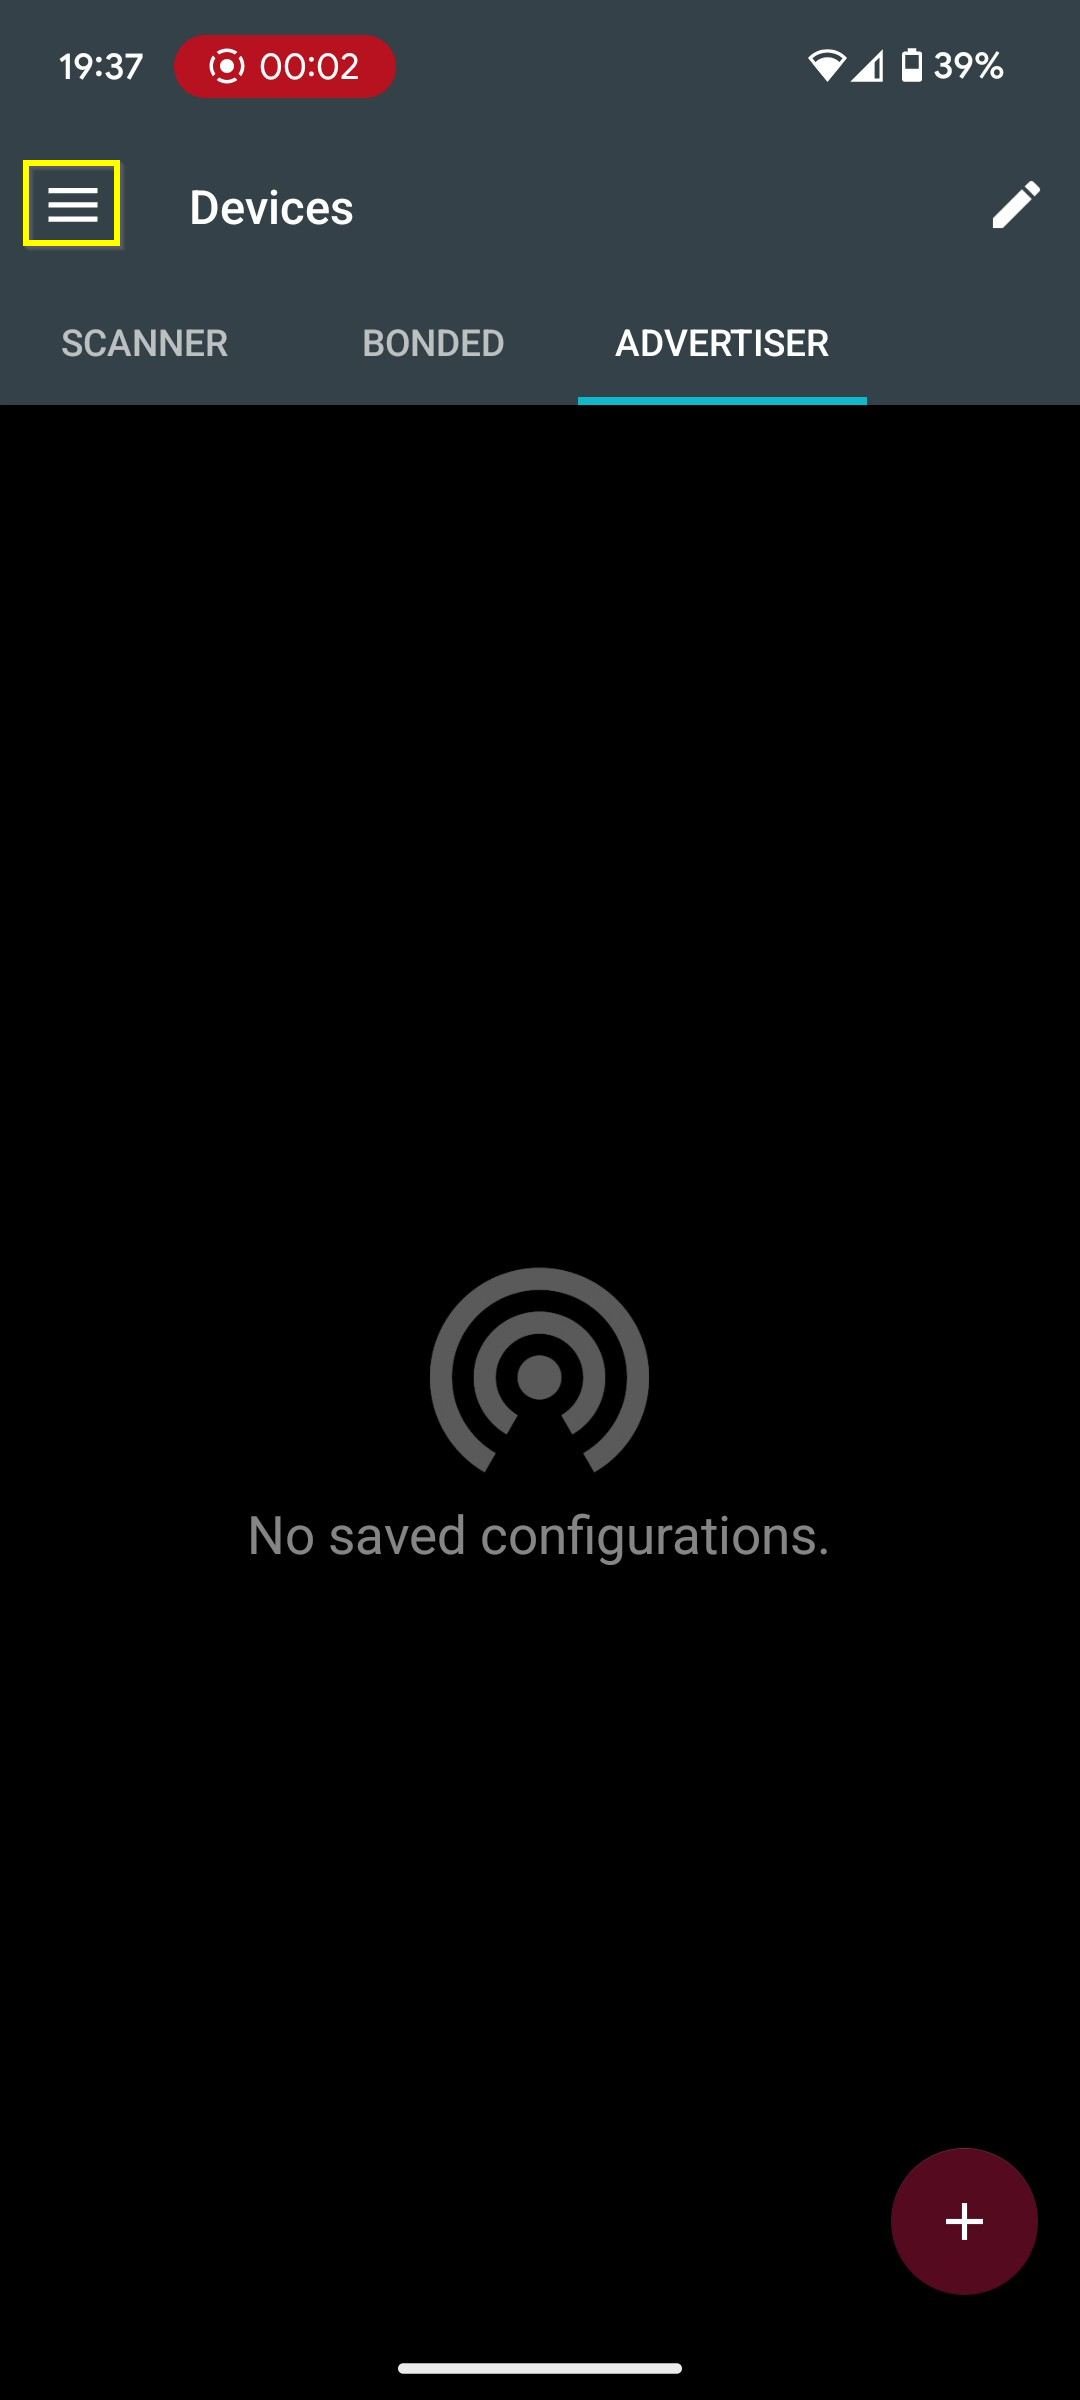
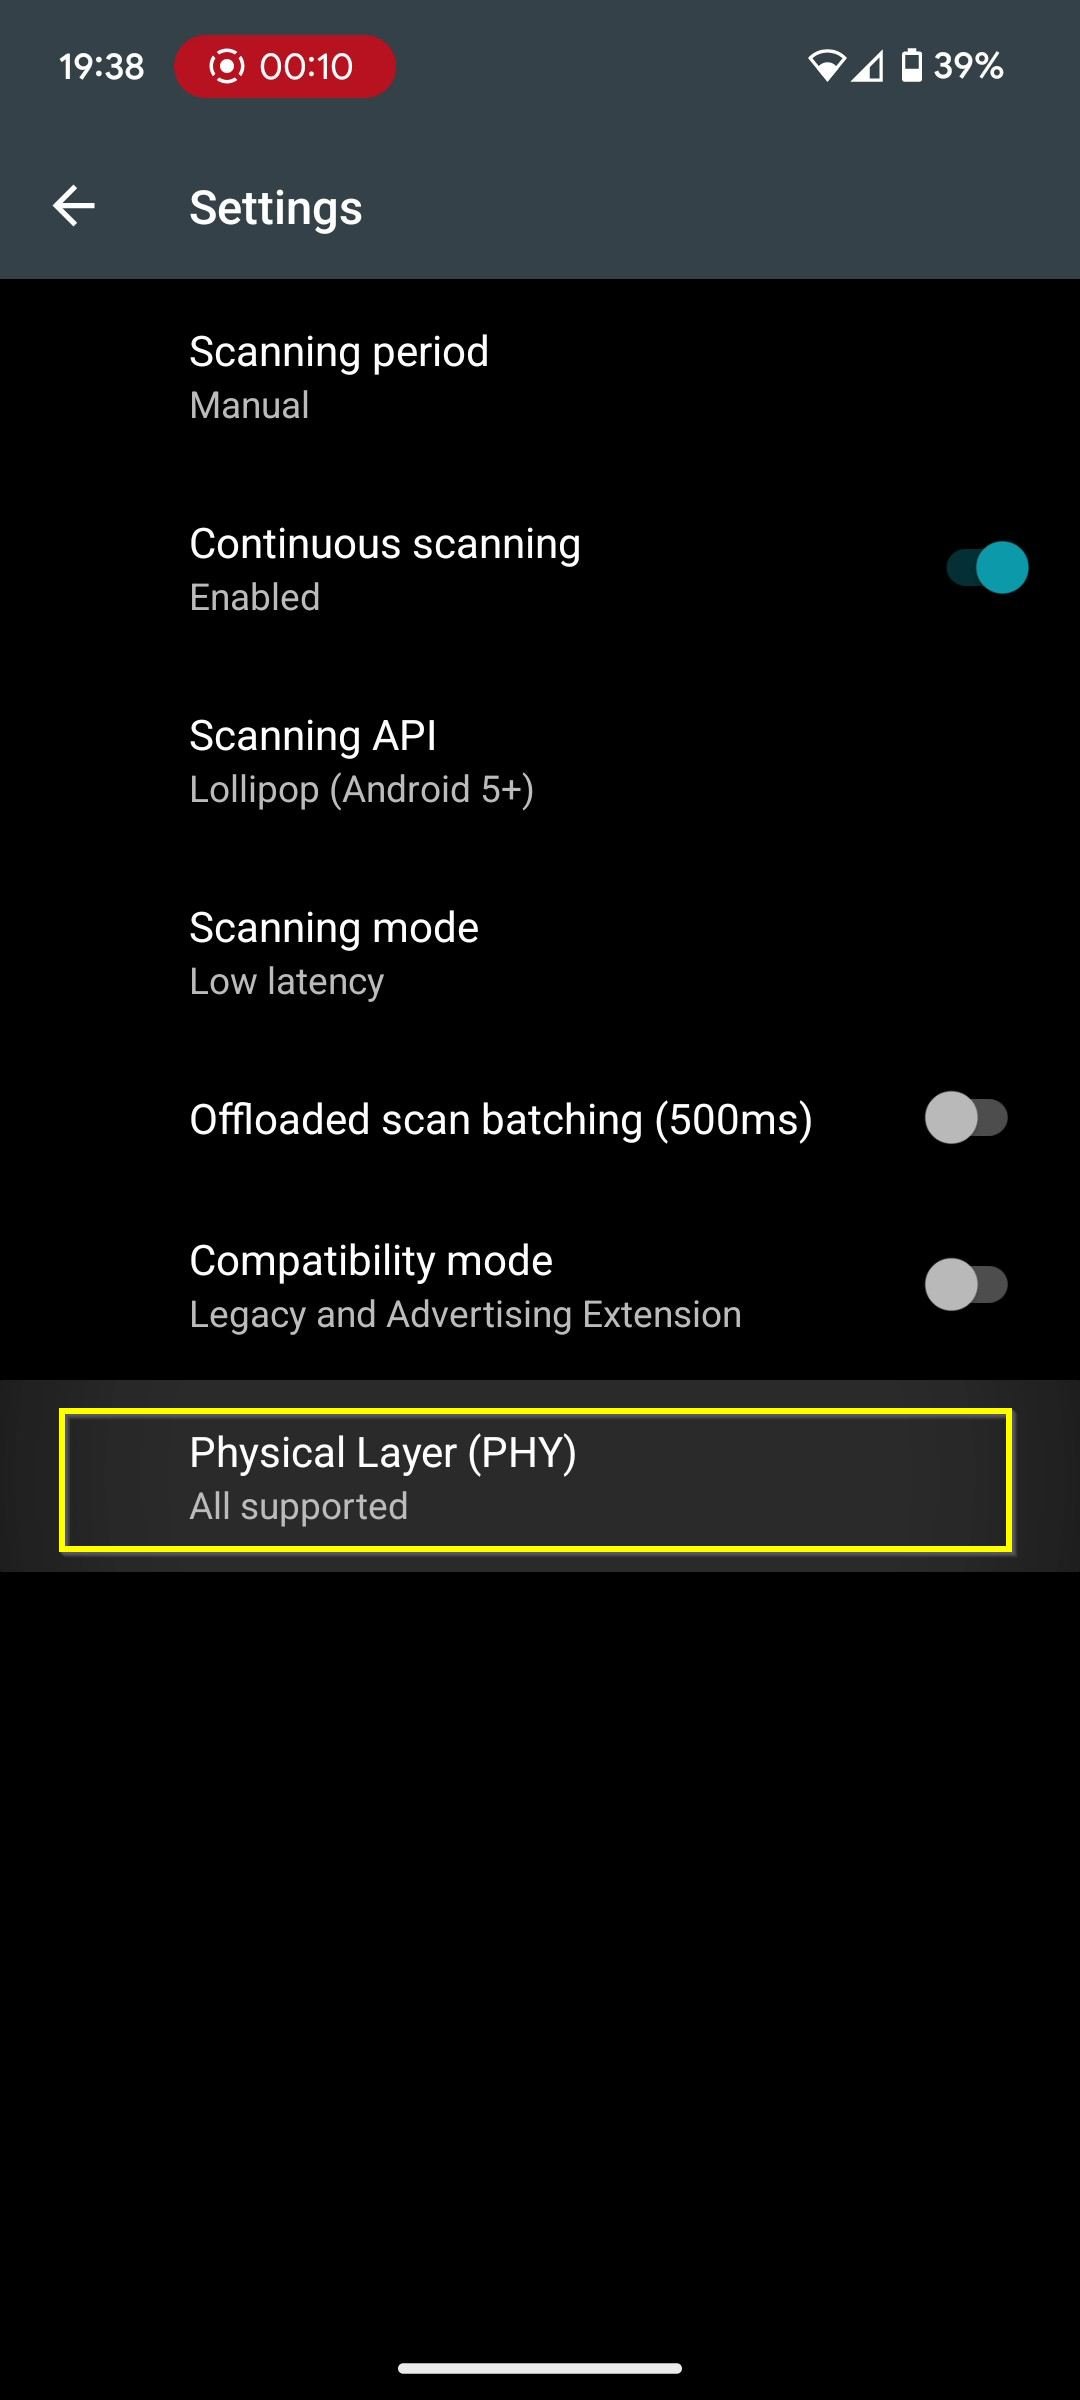
8. Select Settings → Scanner.
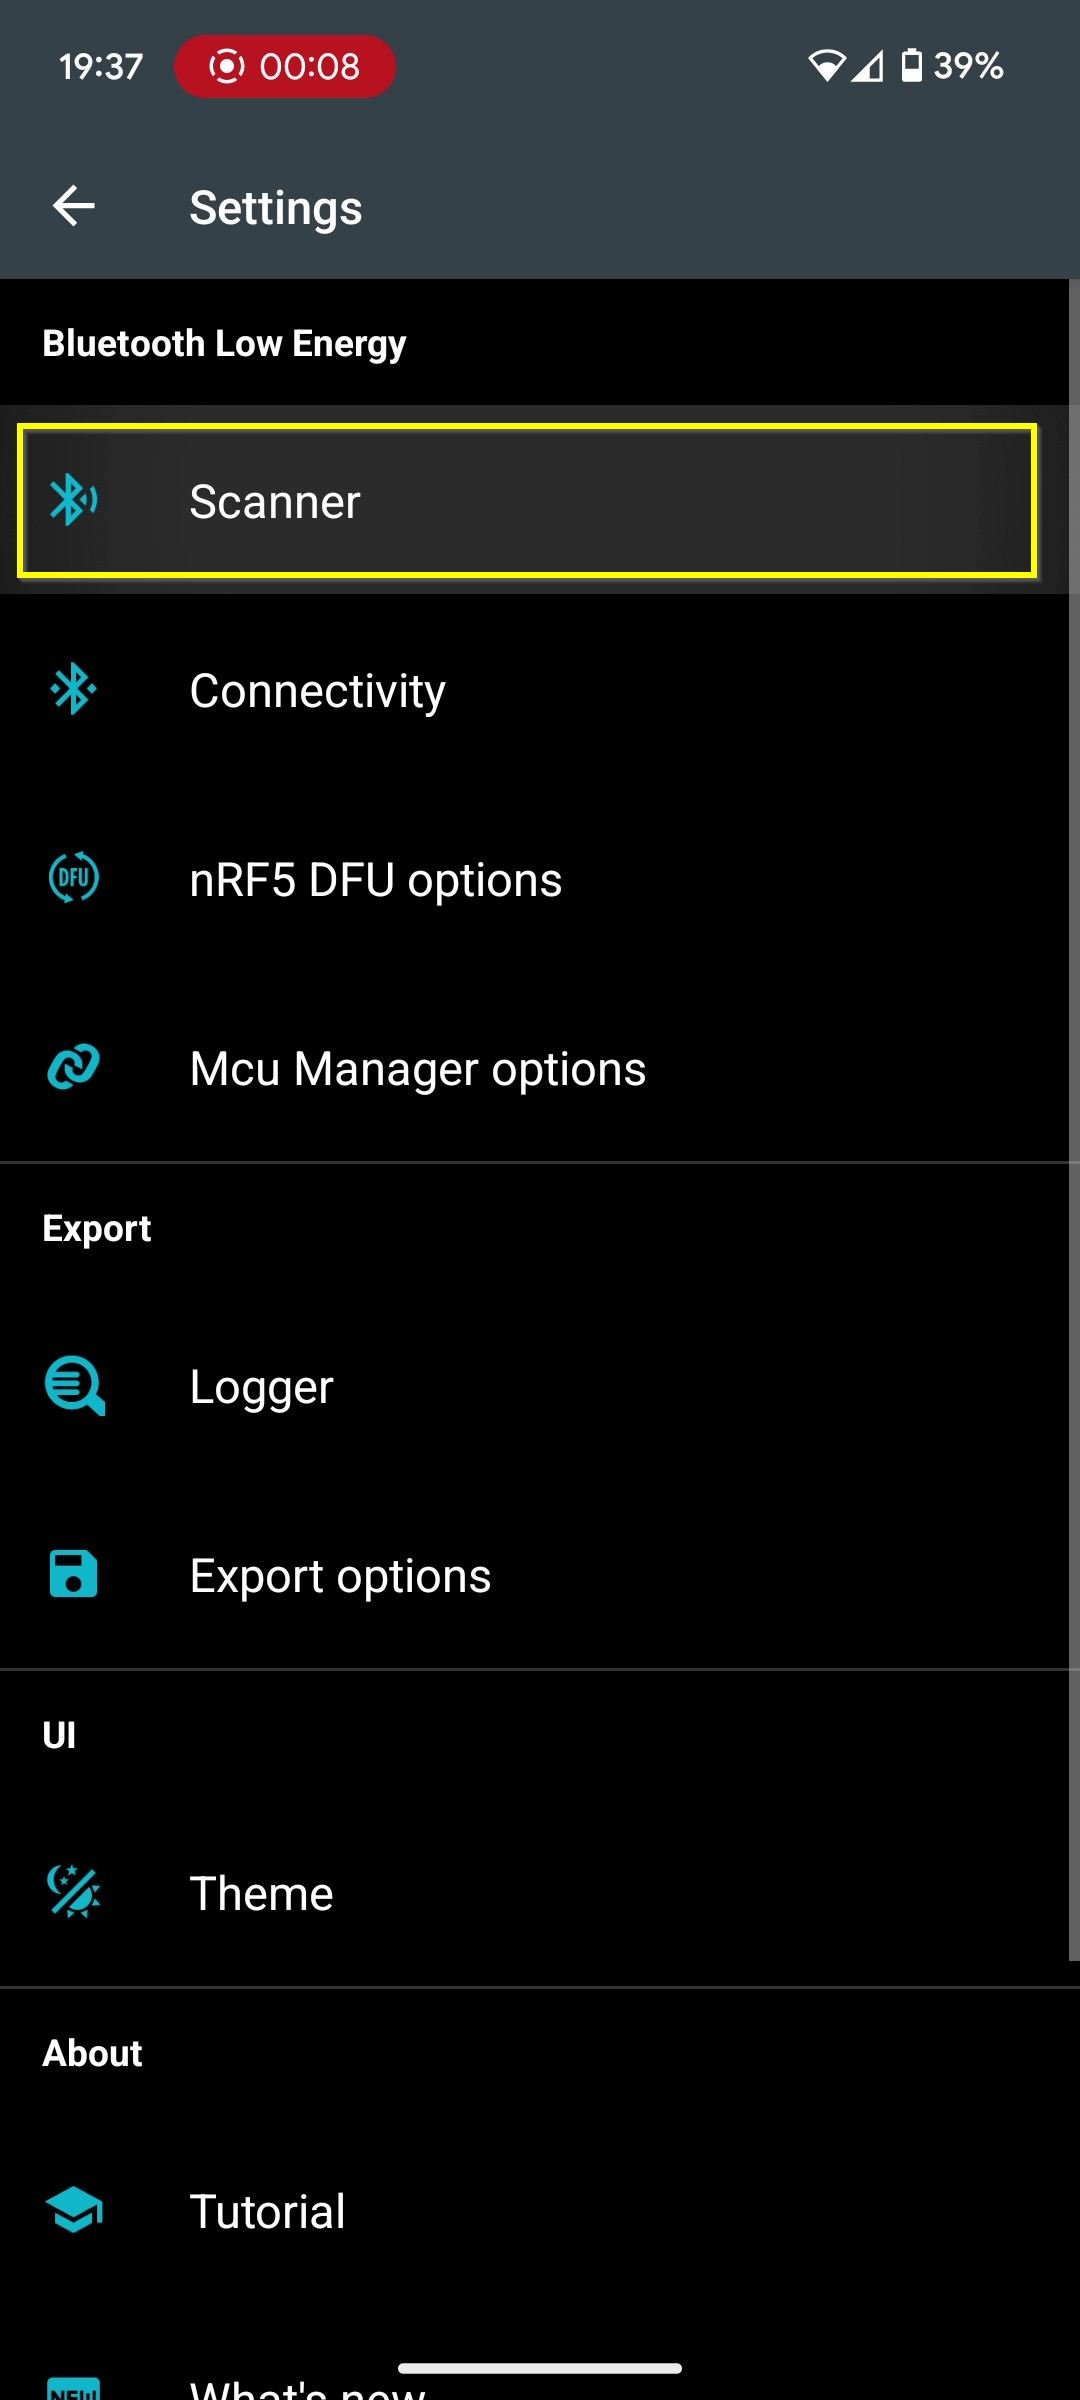
9. Set Physical Layer (PHY) to LE 1M (Legacy).

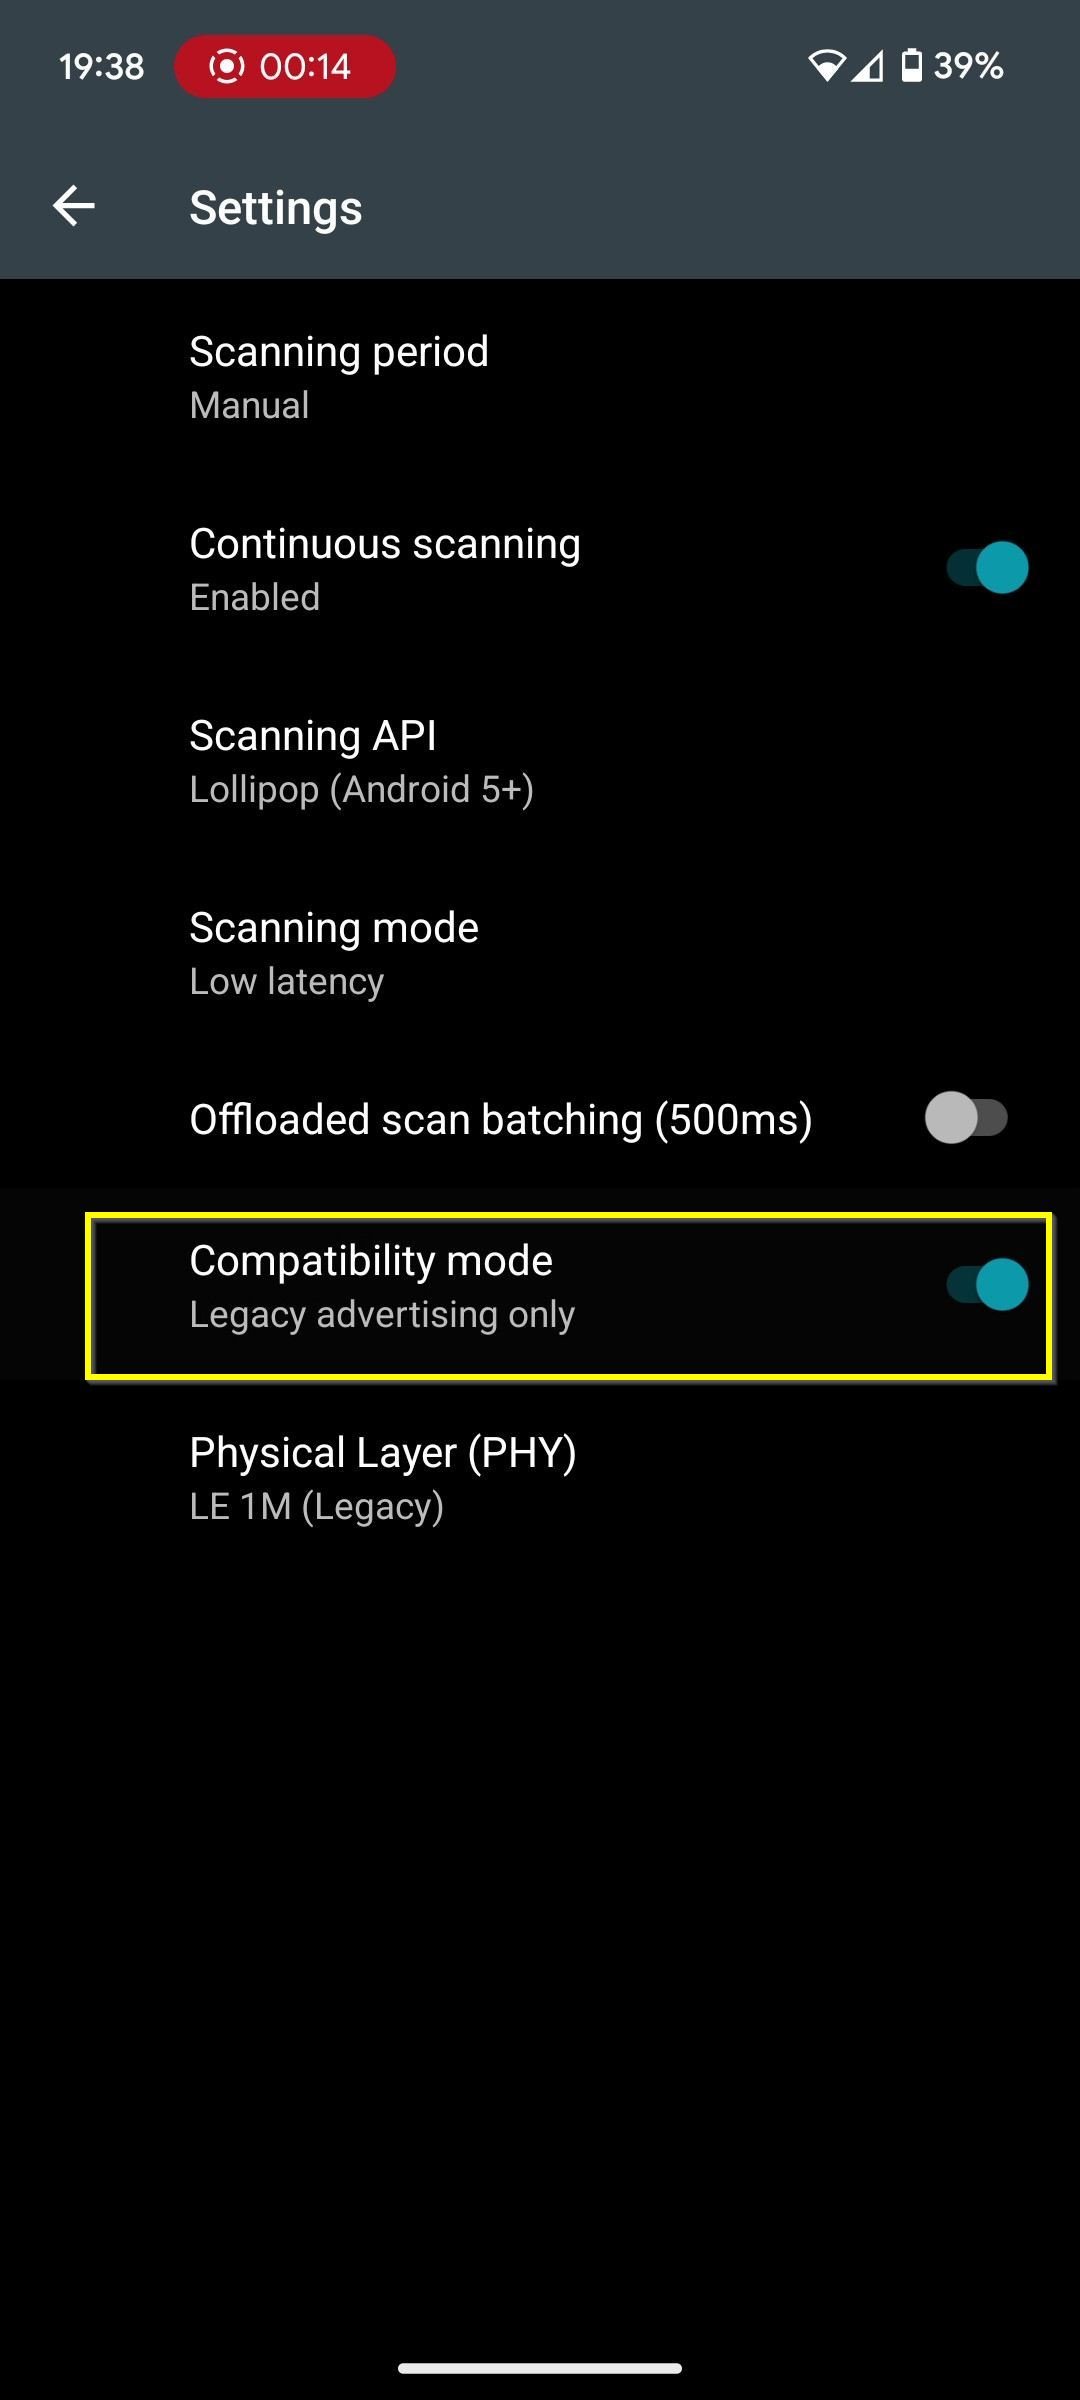
10. Enable Compatibility mode by toggling the switch.
11. Return to the main screen by tapping the back button in the top-left corner twice.
Step 3: Prepare the PATpad Device
12. Please make sure that the battery on the PATpad device is charged to at least 30% before continuing. Otherwise, the firmware upgrade will not start.
13. Turn on the PATpad.

14. If any other device is currently connected to the PATpad, disconnect it.
15. If the PATpad is connected to a display, turn off the display to automatically disconnect it from the PATpad.
16. Once no devices are connected to the PATpad, reset the PATpad:
Press the white dot in the center and hold it firmly for 10 seconds.
Step 4: Firmware Upgrade Using the nRF Connect Application
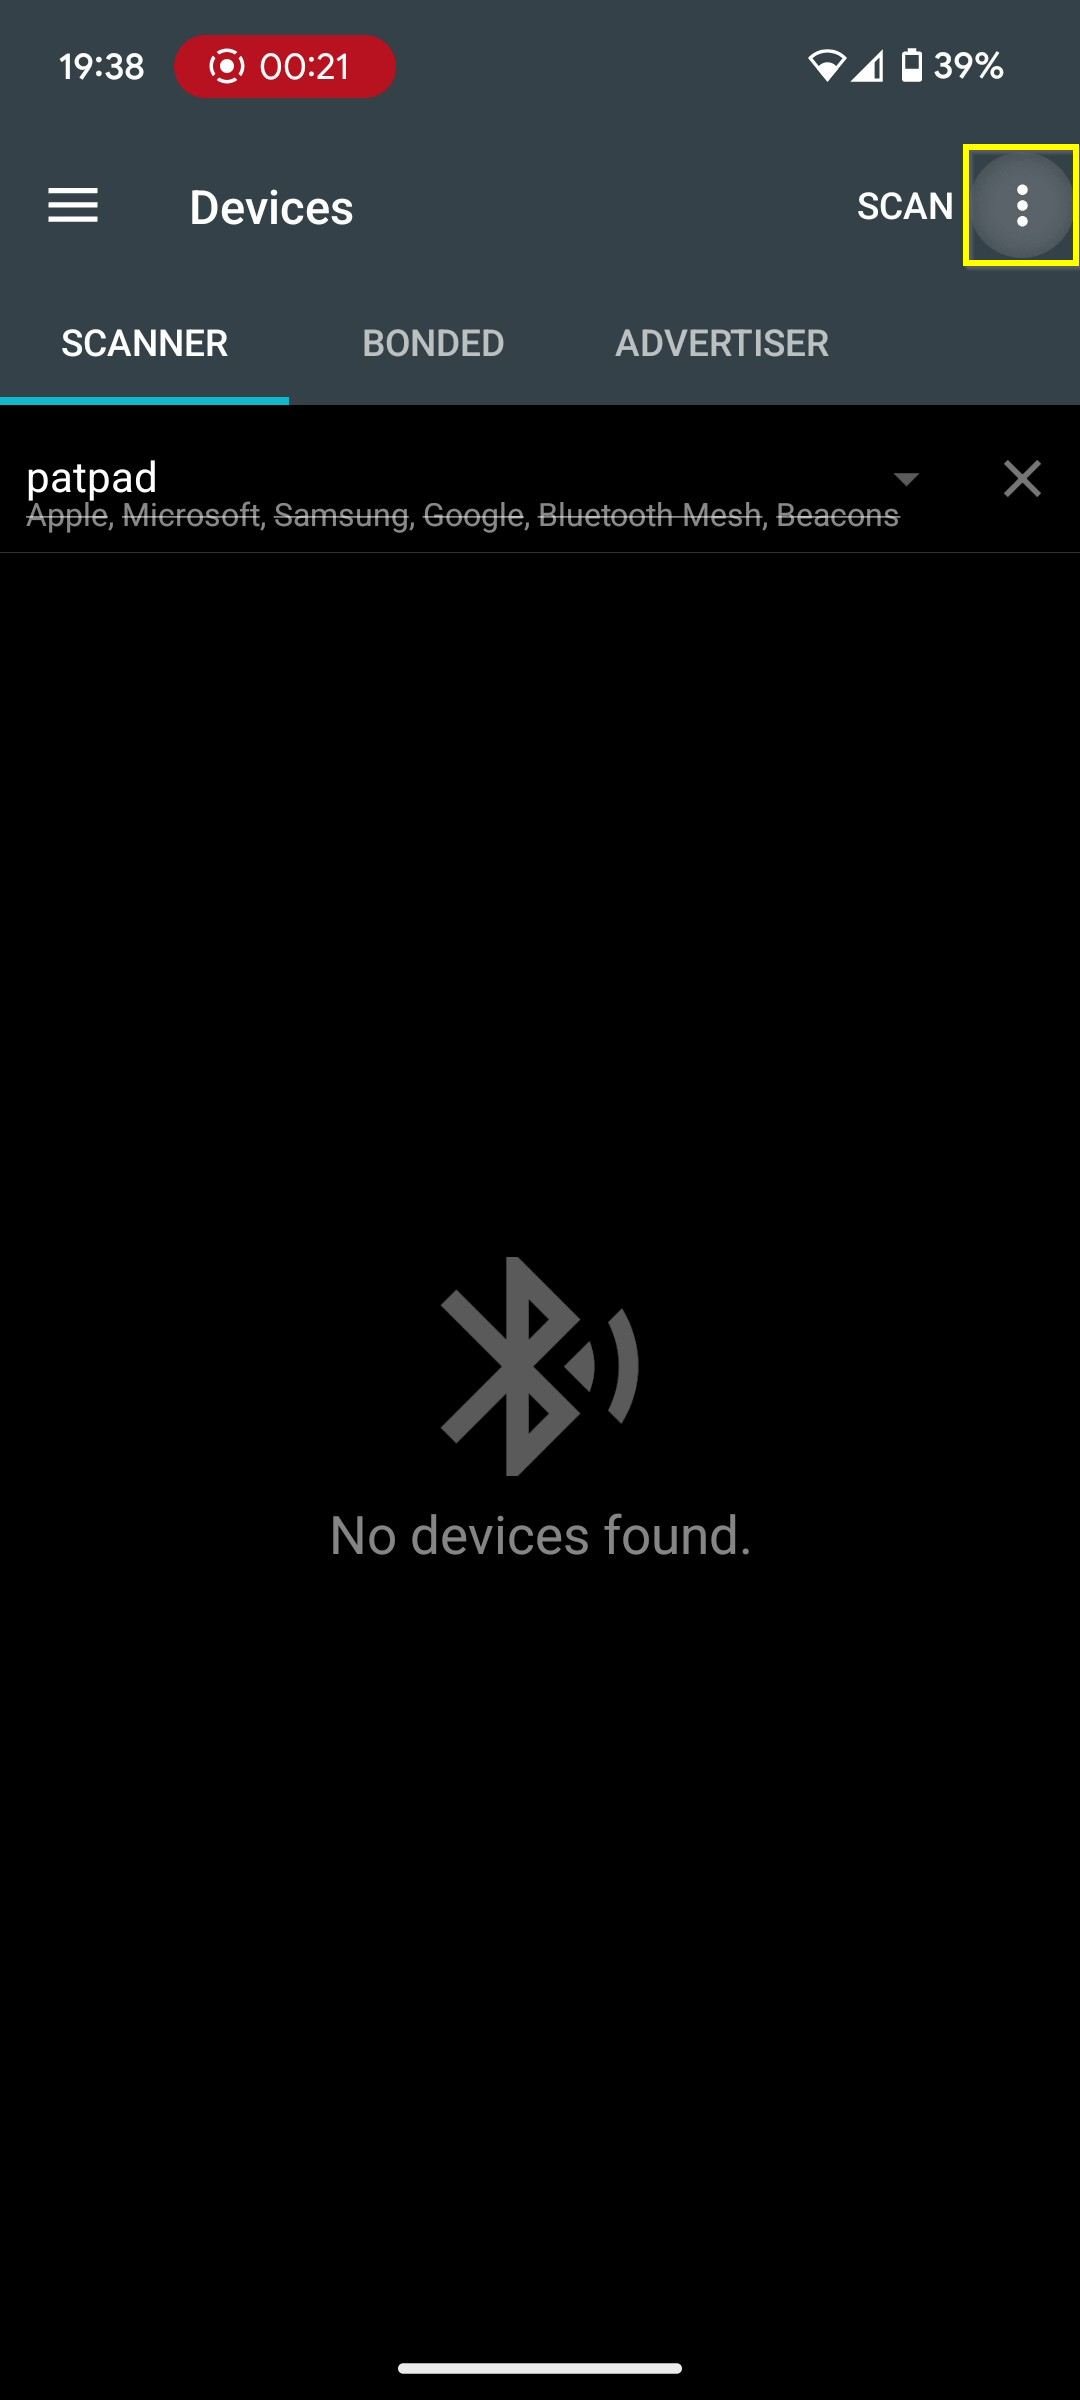
17. Open the nRF Connect application if it hasn’t been done already and tap the SCANNER tab.

18. Tap the three dots in the top-right corner to open the additional menu.
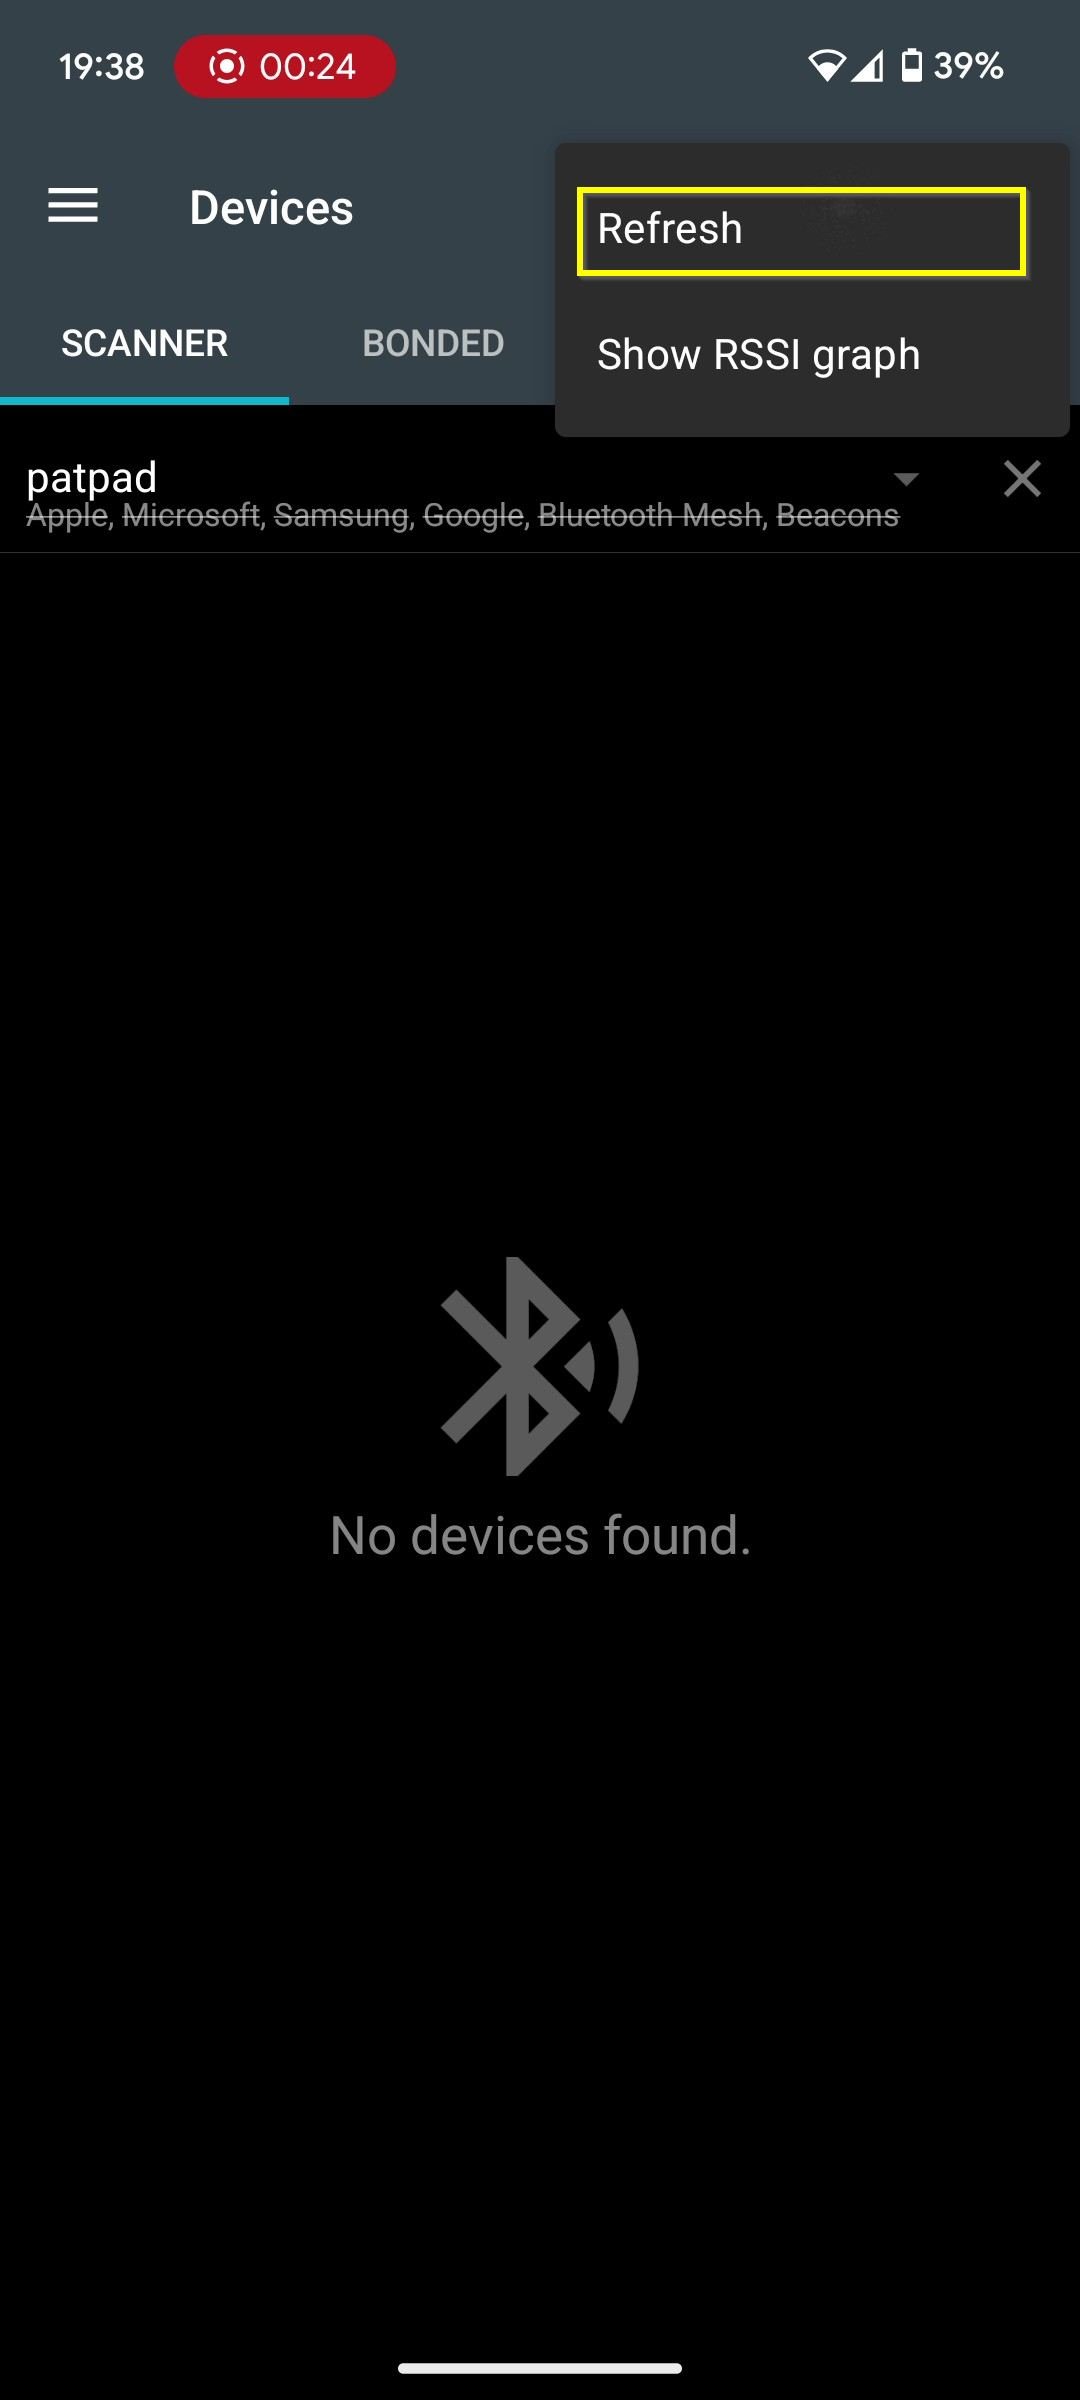
19. From the menu, select Refresh to refresh the list of devices. This will start scanning for available BLE devices.
20. If the scanning doesn’t start automatically, click SCAN to initiate the scan.
21. The list of all available BLE devices will appear. If the correct PATpad device is not listed, check if the PATpad is turned ON by pressing the center white dot for a short press.
22. Find the appropriate PATpad device with the correct MAC address and click the Connect button.
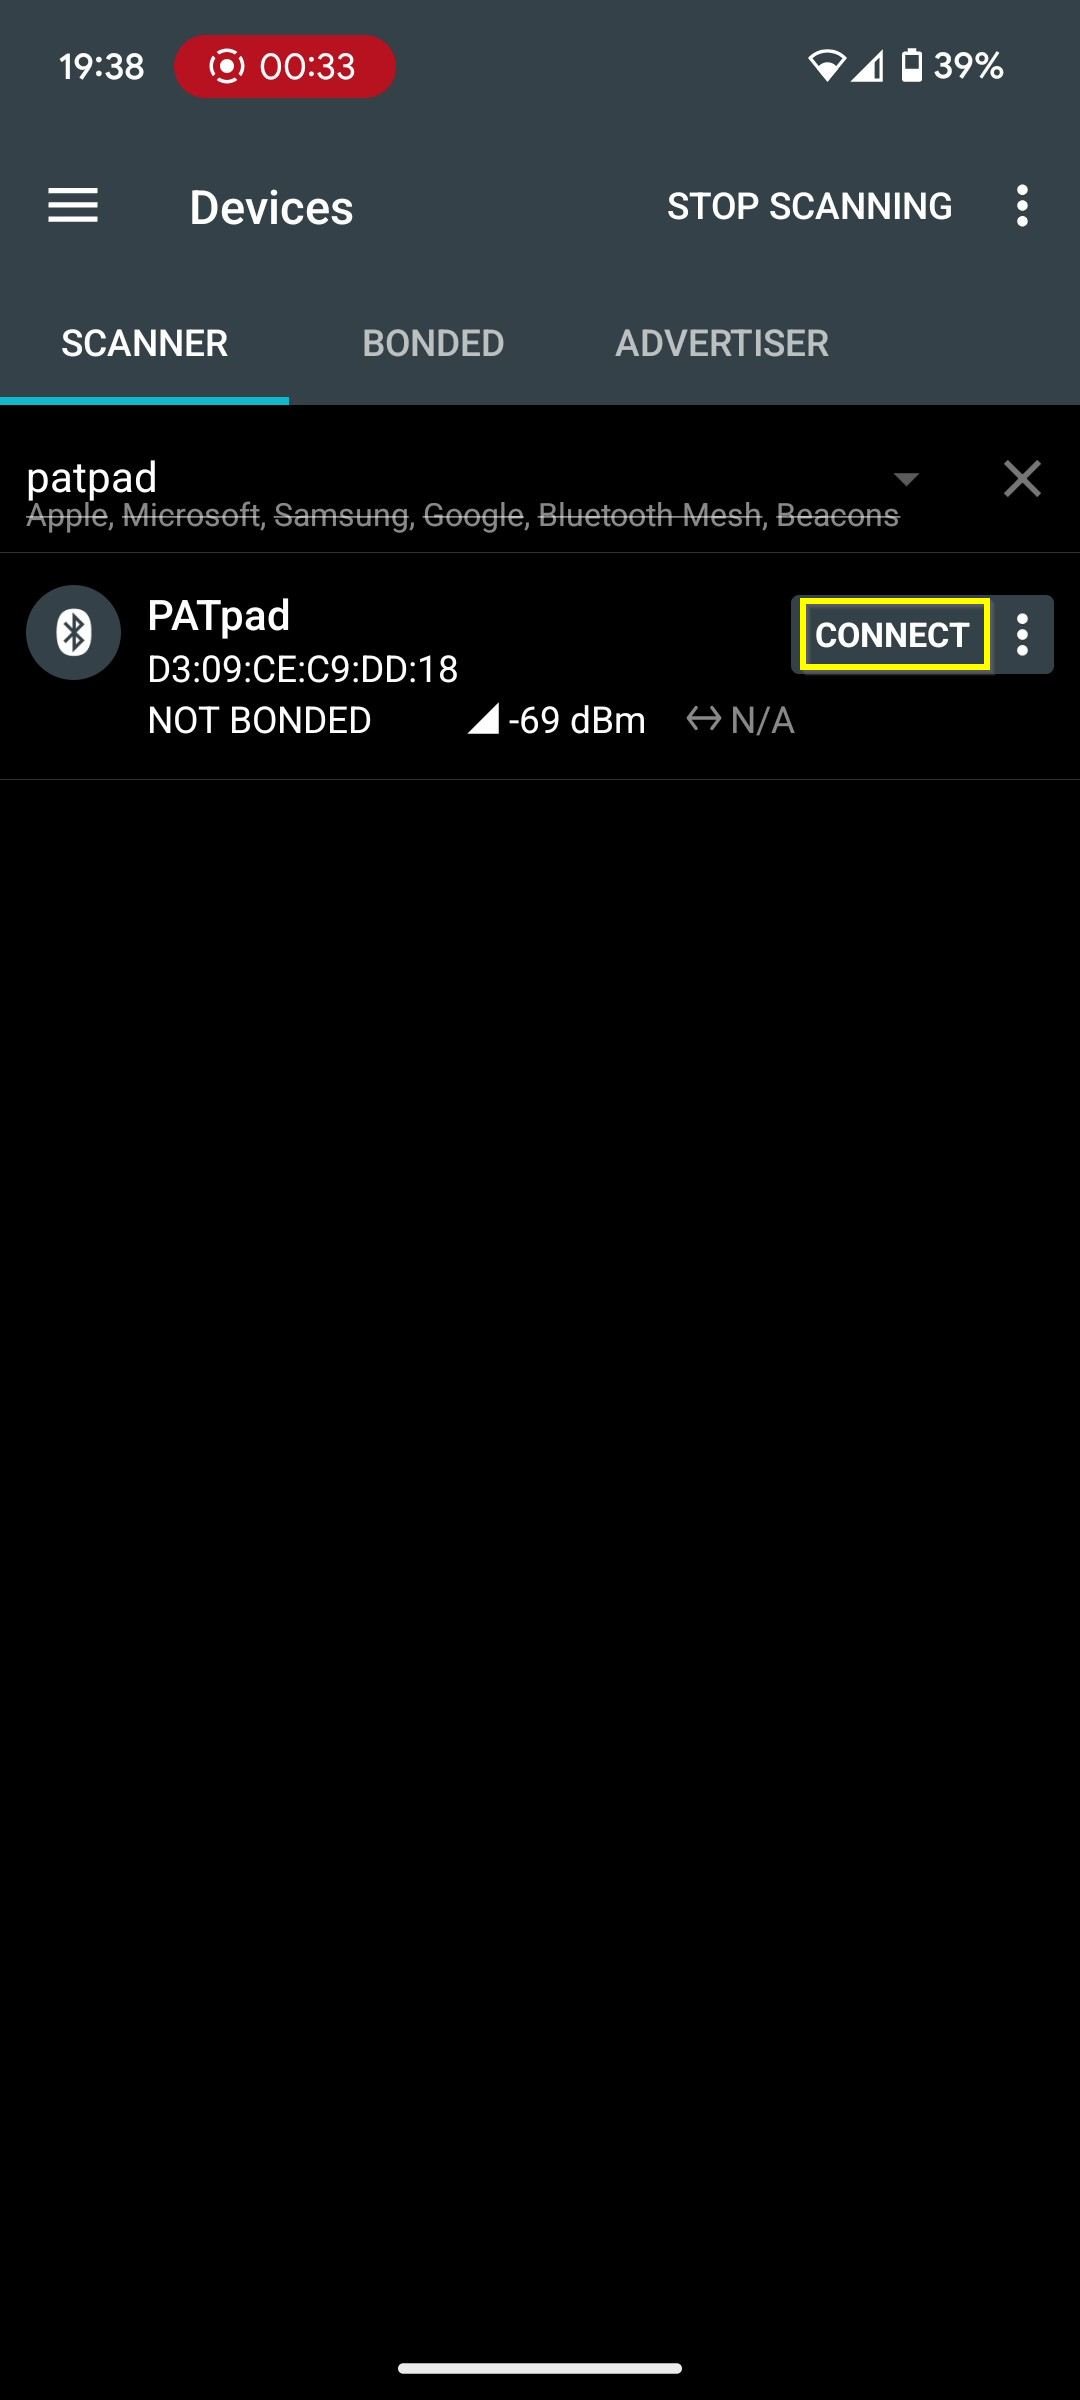
23. The device, along with its name and MAC address, will open in a new tab.
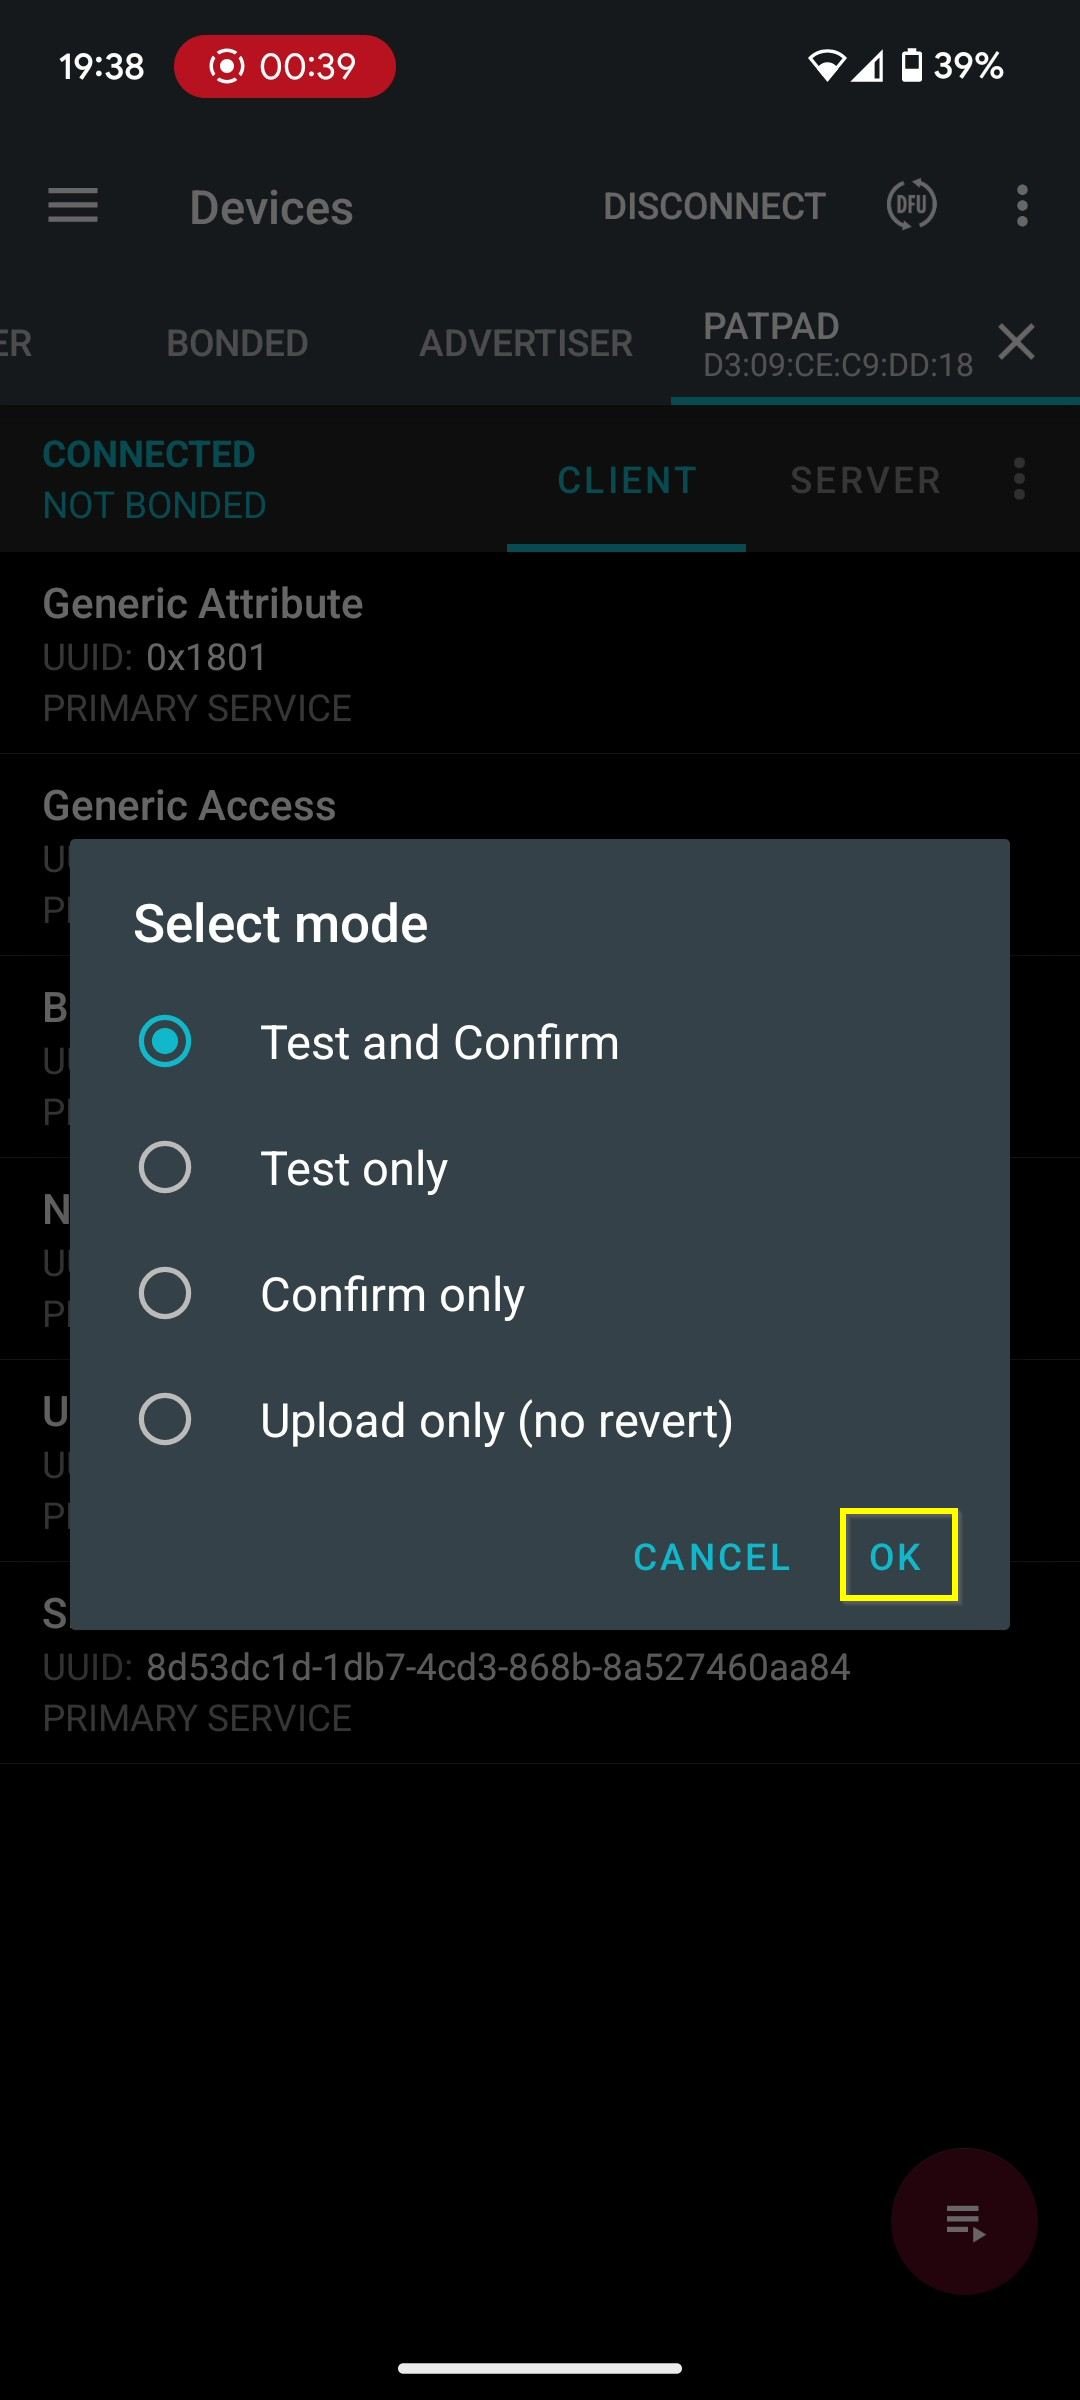
24. A new DFU icon will appear in the top-right corner. Click the DFU icon.

25. On your phone, select the previously downloaded firmware package for the upgrade.
26. For the upgrade mode, leave “Test and Confirm” selected and click OK.
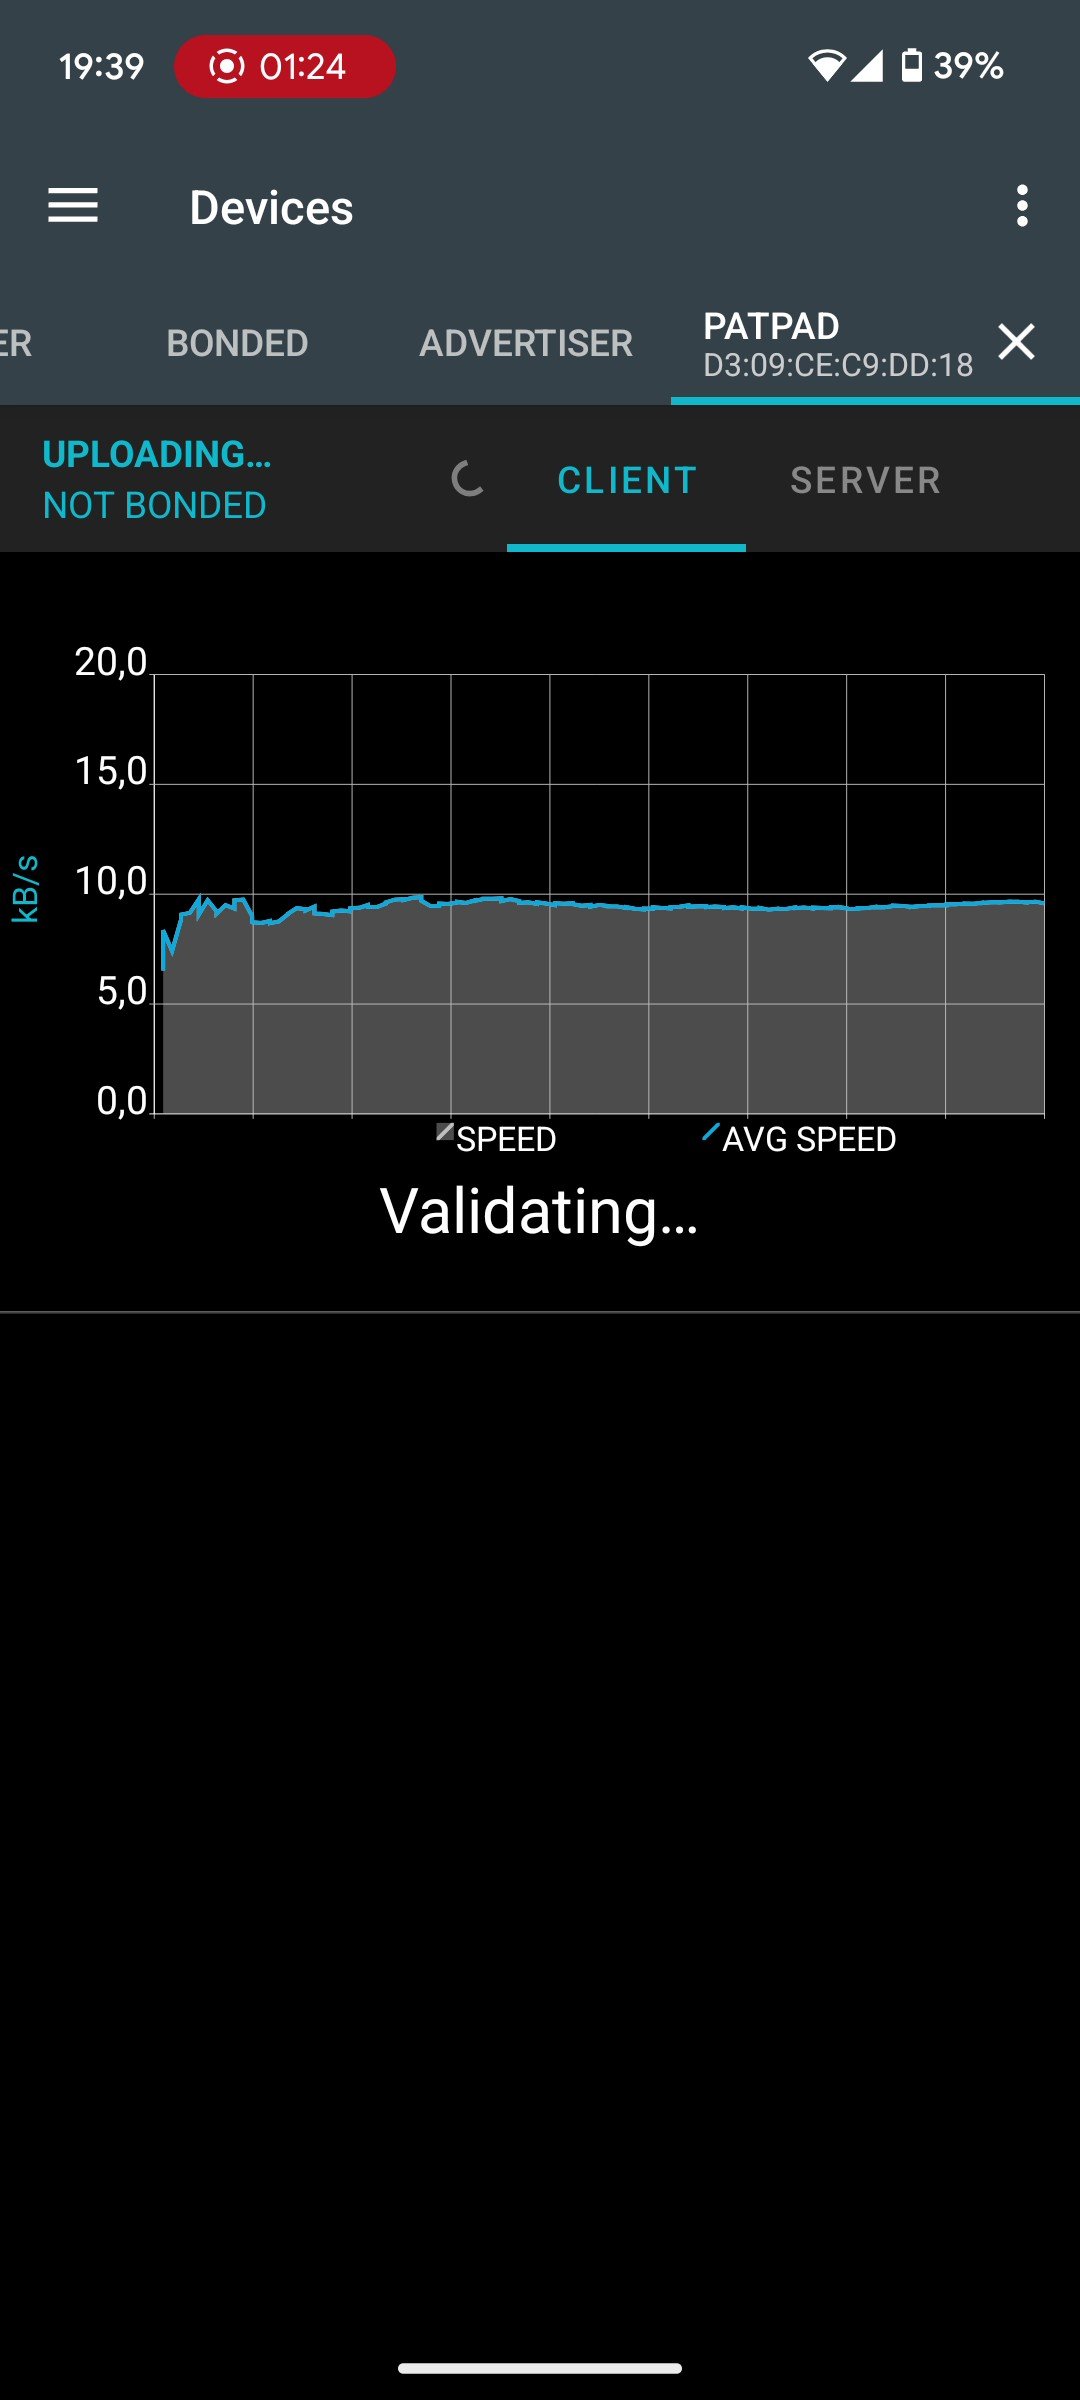
27. The upgrade process will begin, and the upgrade status will be displayed. If the upgrade process doesn’t start, it is likely that the PATpad settings were not correctly reset. Please go back to Step 3: Prepare the PATpad Device and continue from there.

28. Once the firmware package is fully transferred, the content will be validated. During this time, you will see the status Validating… which can take from 30 seconds to 1 minute.
29. The upgrade process will finish with a message: Application has been sent successfully.
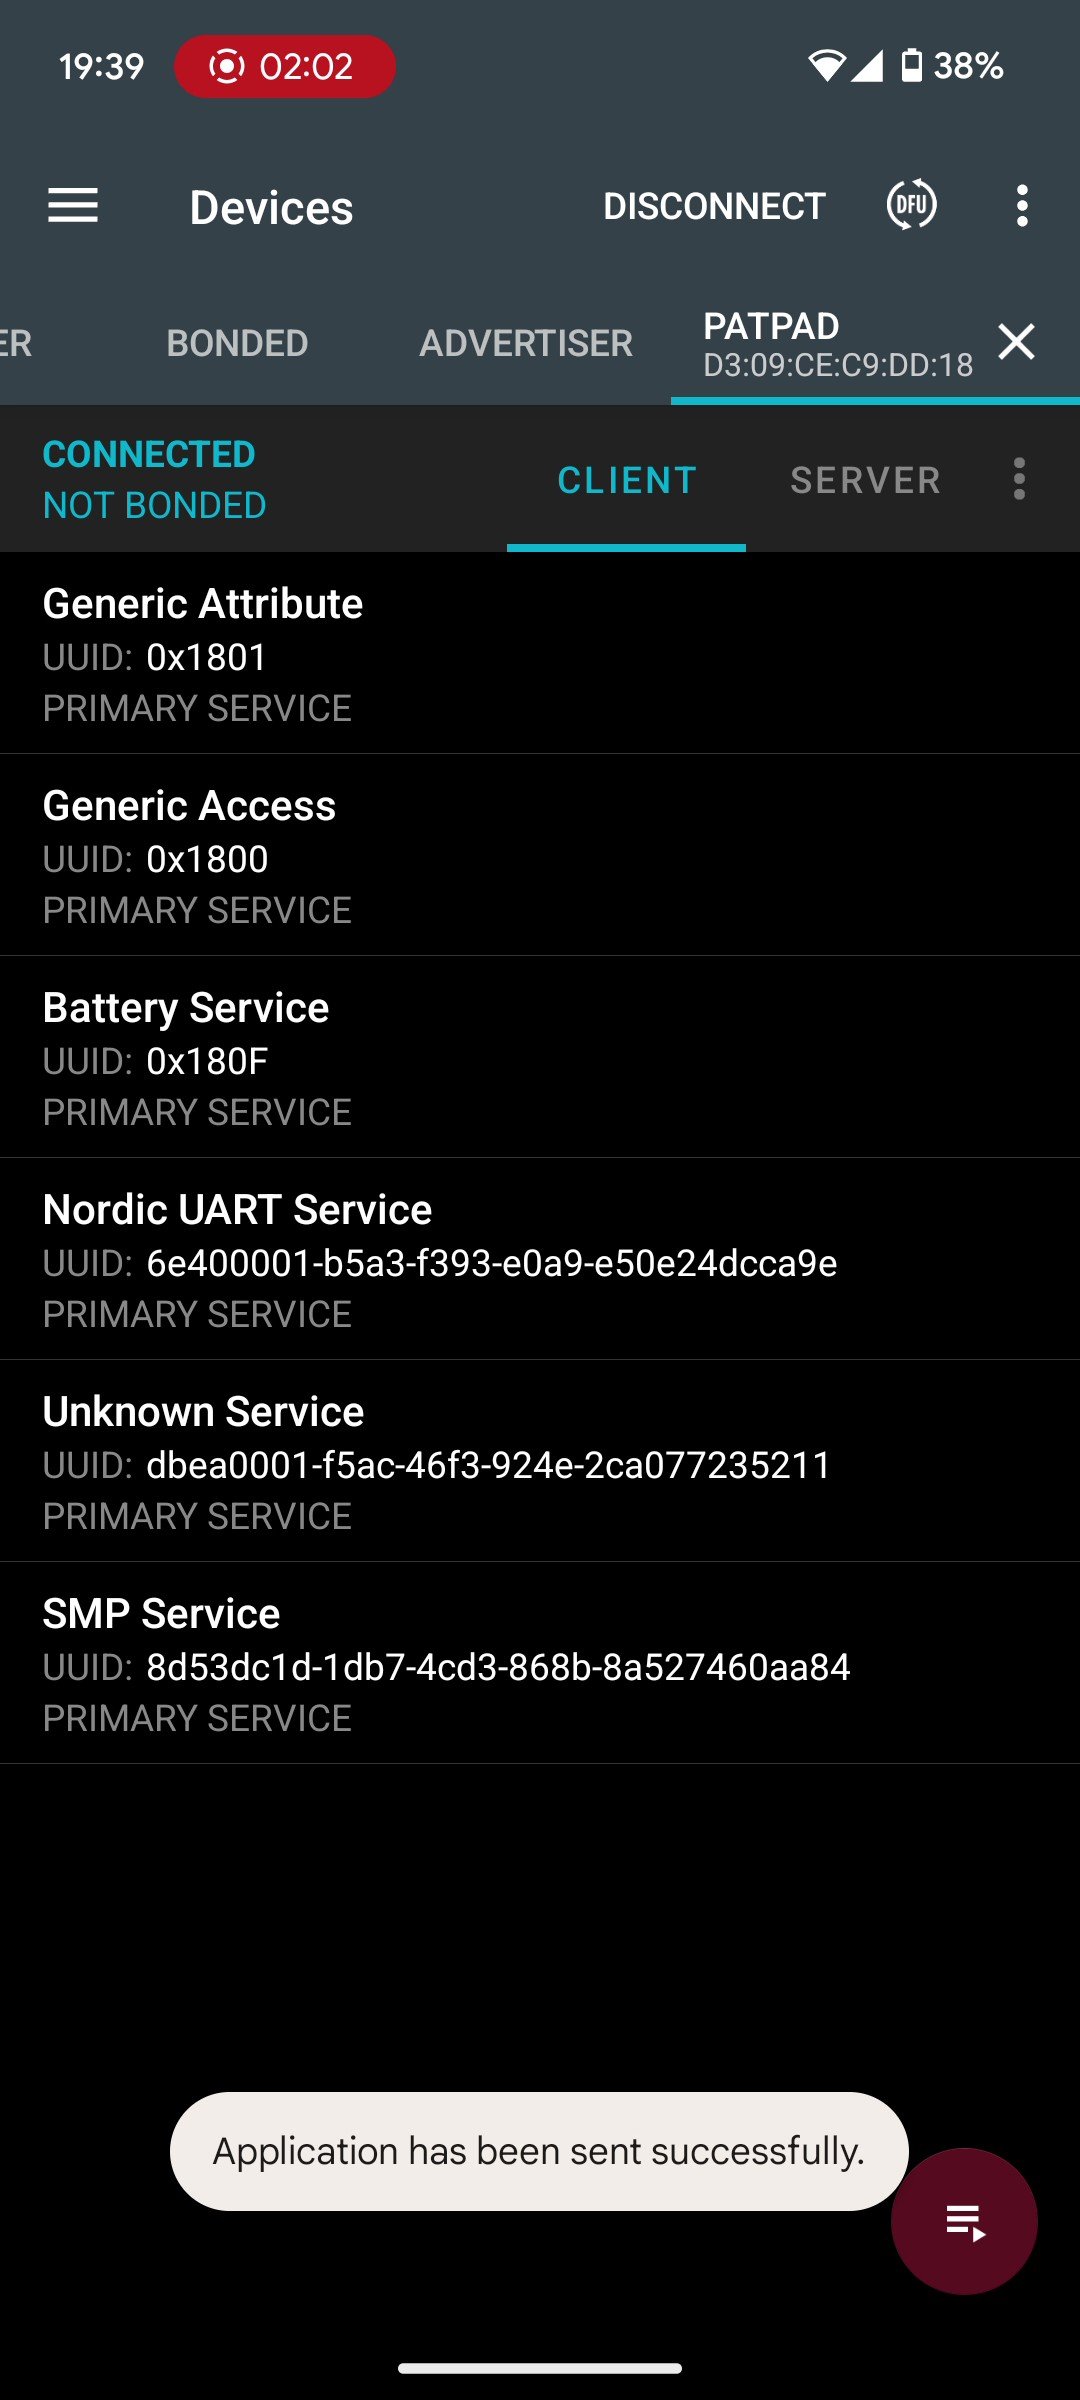
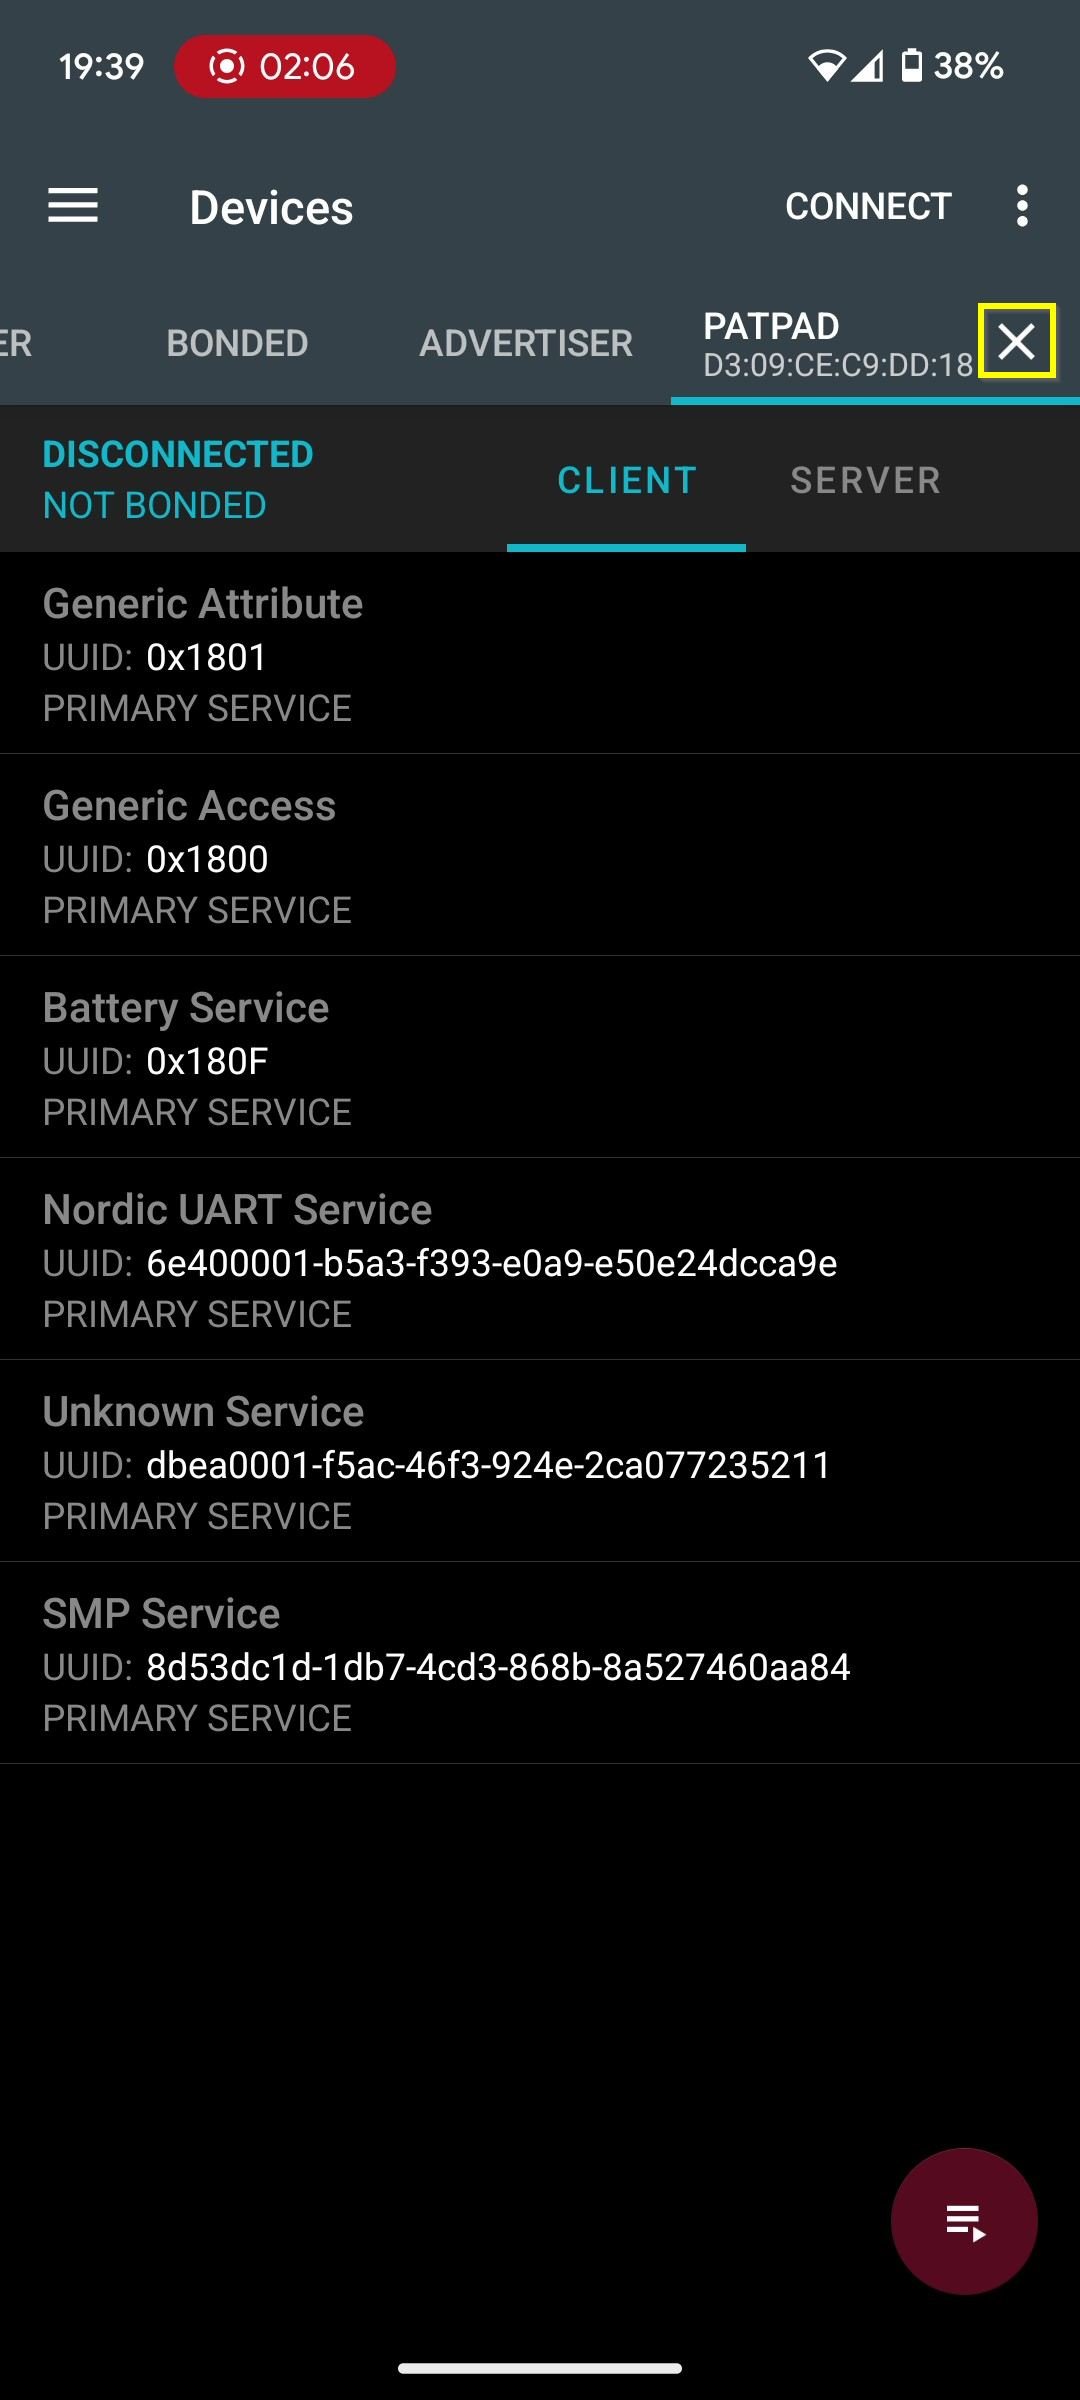
30. Disconnect from the PATpad by tapping Disconnect in the top-right corner.

31. Close the PATpad tab by tapping X and then exit the application.
32. The firmware upgrade has been successfully completed, and you can now begin using your PATpad device. Please note that any previously paired Display devices need to be re-paired.